Create a Promotional Website
Build professional promotional websites in 30-60 minutes. No coding required, no expensive agencies, no weeks of development.
Quick Navigation
- Overview - Problem, solution, and what you'll achieve
- Step-by-Step Setup — How to set up
- Instruction Examples — Copy-paste prompts for 3 website types
- Review & Refine — Verify and correct output
- How to Improve Results — Tips and best practices
- Troubleshooting — Common issues and solutions
Overview
Problem It Solves
Creating promotional websites is challenging:
- Expensive development — Often requires hiring external agencies
- Slow turnaround — Can take weeks or even months to launch
- Technical barriers — Requires coding skills or developer support
- Multiple revisions — Changes add time and coordination overhead
- Hard to iterate — Difficult to quickly test and update content
Common Pain Point
Creating a professional promotional website can take weeks and involve significant effort, especially when coordinating with developers and managing multiple revisions.
Why This Is Different with FabriXWork
Traditional Web Development:
Brief → Design → Revisions → Development → Testing → Launch
                    ↑                                    │
                    └──────── Need changes? $$$$ ────────┘
With FabriXWork:
Your content → Agent → "Build website" → Done
   ↑              │
   └── Update copy, regenerate ──┘
Key Advantage
No coding required. Provide your content, get a professional Bootstrap website in 30-60 minutes.
What You Will Achieve
✅ Create a professional promotional landing page in 30-60 minutes
✅ No coding required — describe your vision in natural language
✅ Fully responsive design (desktop, tablet, mobile)
✅ Modern styling using Bootstrap 5 (or your preferred framework) ✅ Easy to update or customize later
Time to complete: 30-60 minutes (vs. 2-8 weeks with agency)
Output: Professional HTML website with Bootstrap CSS (single file, works in any browser)
Complexity Level: 🟡 Intermediate
Website Types Demonstrated in This Guide
| Type | Goal | Example Use Case |
|---|---|---|
| Product Launch | Generate signups and interest | SaaS launch, app release, new feature |
| Event Promotion | Drive registrations | Conference, webinar, workshop |
| SaaS Homepage | Convert to free trials | B2B SaaS, subscription service |
Not seeing your exact website type?
The prompts below are templates. Adapt the sections and content to match your specific goals.
Step-by-Step Setup
Step 1: Prepare Your Content
Before starting, gather:
- Brand assets: Logo, brand colors (if available)
- Marketing copy: Headlines, value propositions, key benefits
- Product/service info: Features, pricing, differentiators
- Call-to-action: What should visitors do? (sign up, register, buy)
- Images: Product screenshots, team photos (optional)
- Social proof: Testimonials, customer logos (optional)
Step 2: Choose Your Agent
You can use any AI agent in FabriXWork to build websites.
- If you already have an agent: Use the agent you're currently working with
- If you need a new agent: For website building, Dilbert - Software Developer is recommended
- If you haven't added any agent yet: Follow the Add Your First Agent guide first
Step 3: Connect Your Folder
Skip This Step If...
You're already working with an agent and your files are in the connected folder. Only follow this step if you're adding a new agent or need to connect a different folder.
If you are adding a new agent:
Follow Connect to Local Folder to connect your agent to a local folder.
If you want to connect a different folder:
- Select your agent from the sidebar
- In the right panel, click "Change" to connect a folder

- Add your files into that folder
Step 4: Give Your Instruction
To build your promotional website, use one of the instruction examples in the next section as your starting point. Choose the example that best matches your website type, then replace the sample details with your own.
How to Use These Templates
The prompts below are templates, replace the [PLACEHOLDER] text with your specific details:
[PRODUCT/EVENT NAME]→ Your actual name[TARGET AUDIENCE]→ Who will visit[PRIMARY CTA]→ What action visitors should take- Adjust sections to match your needs
Recommended Workflow: Plan First, Then Build
For best results, use a two-step approach:
Step 1 - Plan Mode: Ask your agent to propose a website structure before building. This validates the agent understands your goals before code is written.
Step 2 - Build Mode: Once you approve the structure, ask your agent to build the website.
How to Switch Modes:
Click the mode selector dropdown under the input box and choose between Plan or Build:
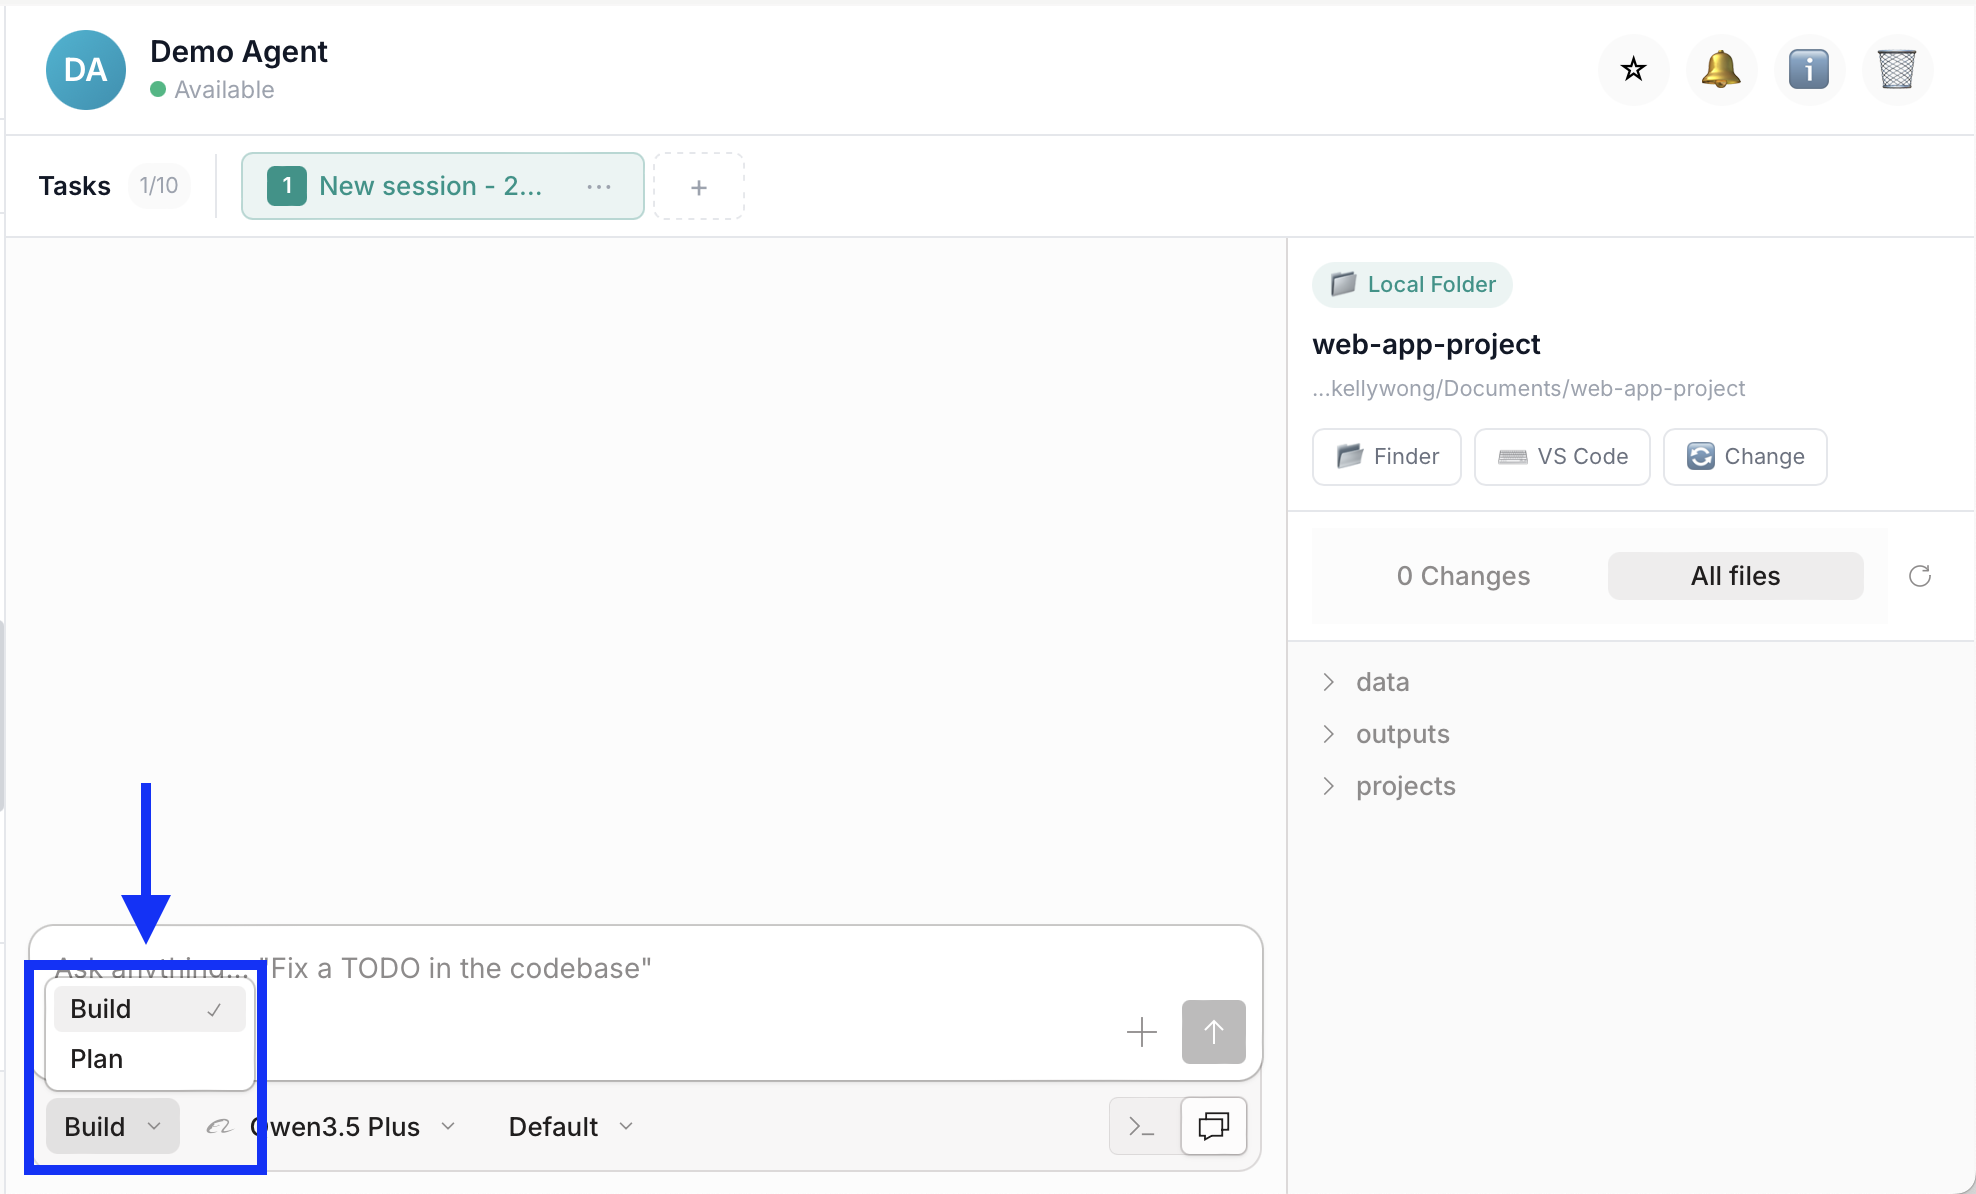
Start in Plan mode to review the proposed structure, then switch to Build mode to create the website.
Why this workflow is more effective: Catches design issues early, aligns on structure, reduces revisions.
Instruction Examples
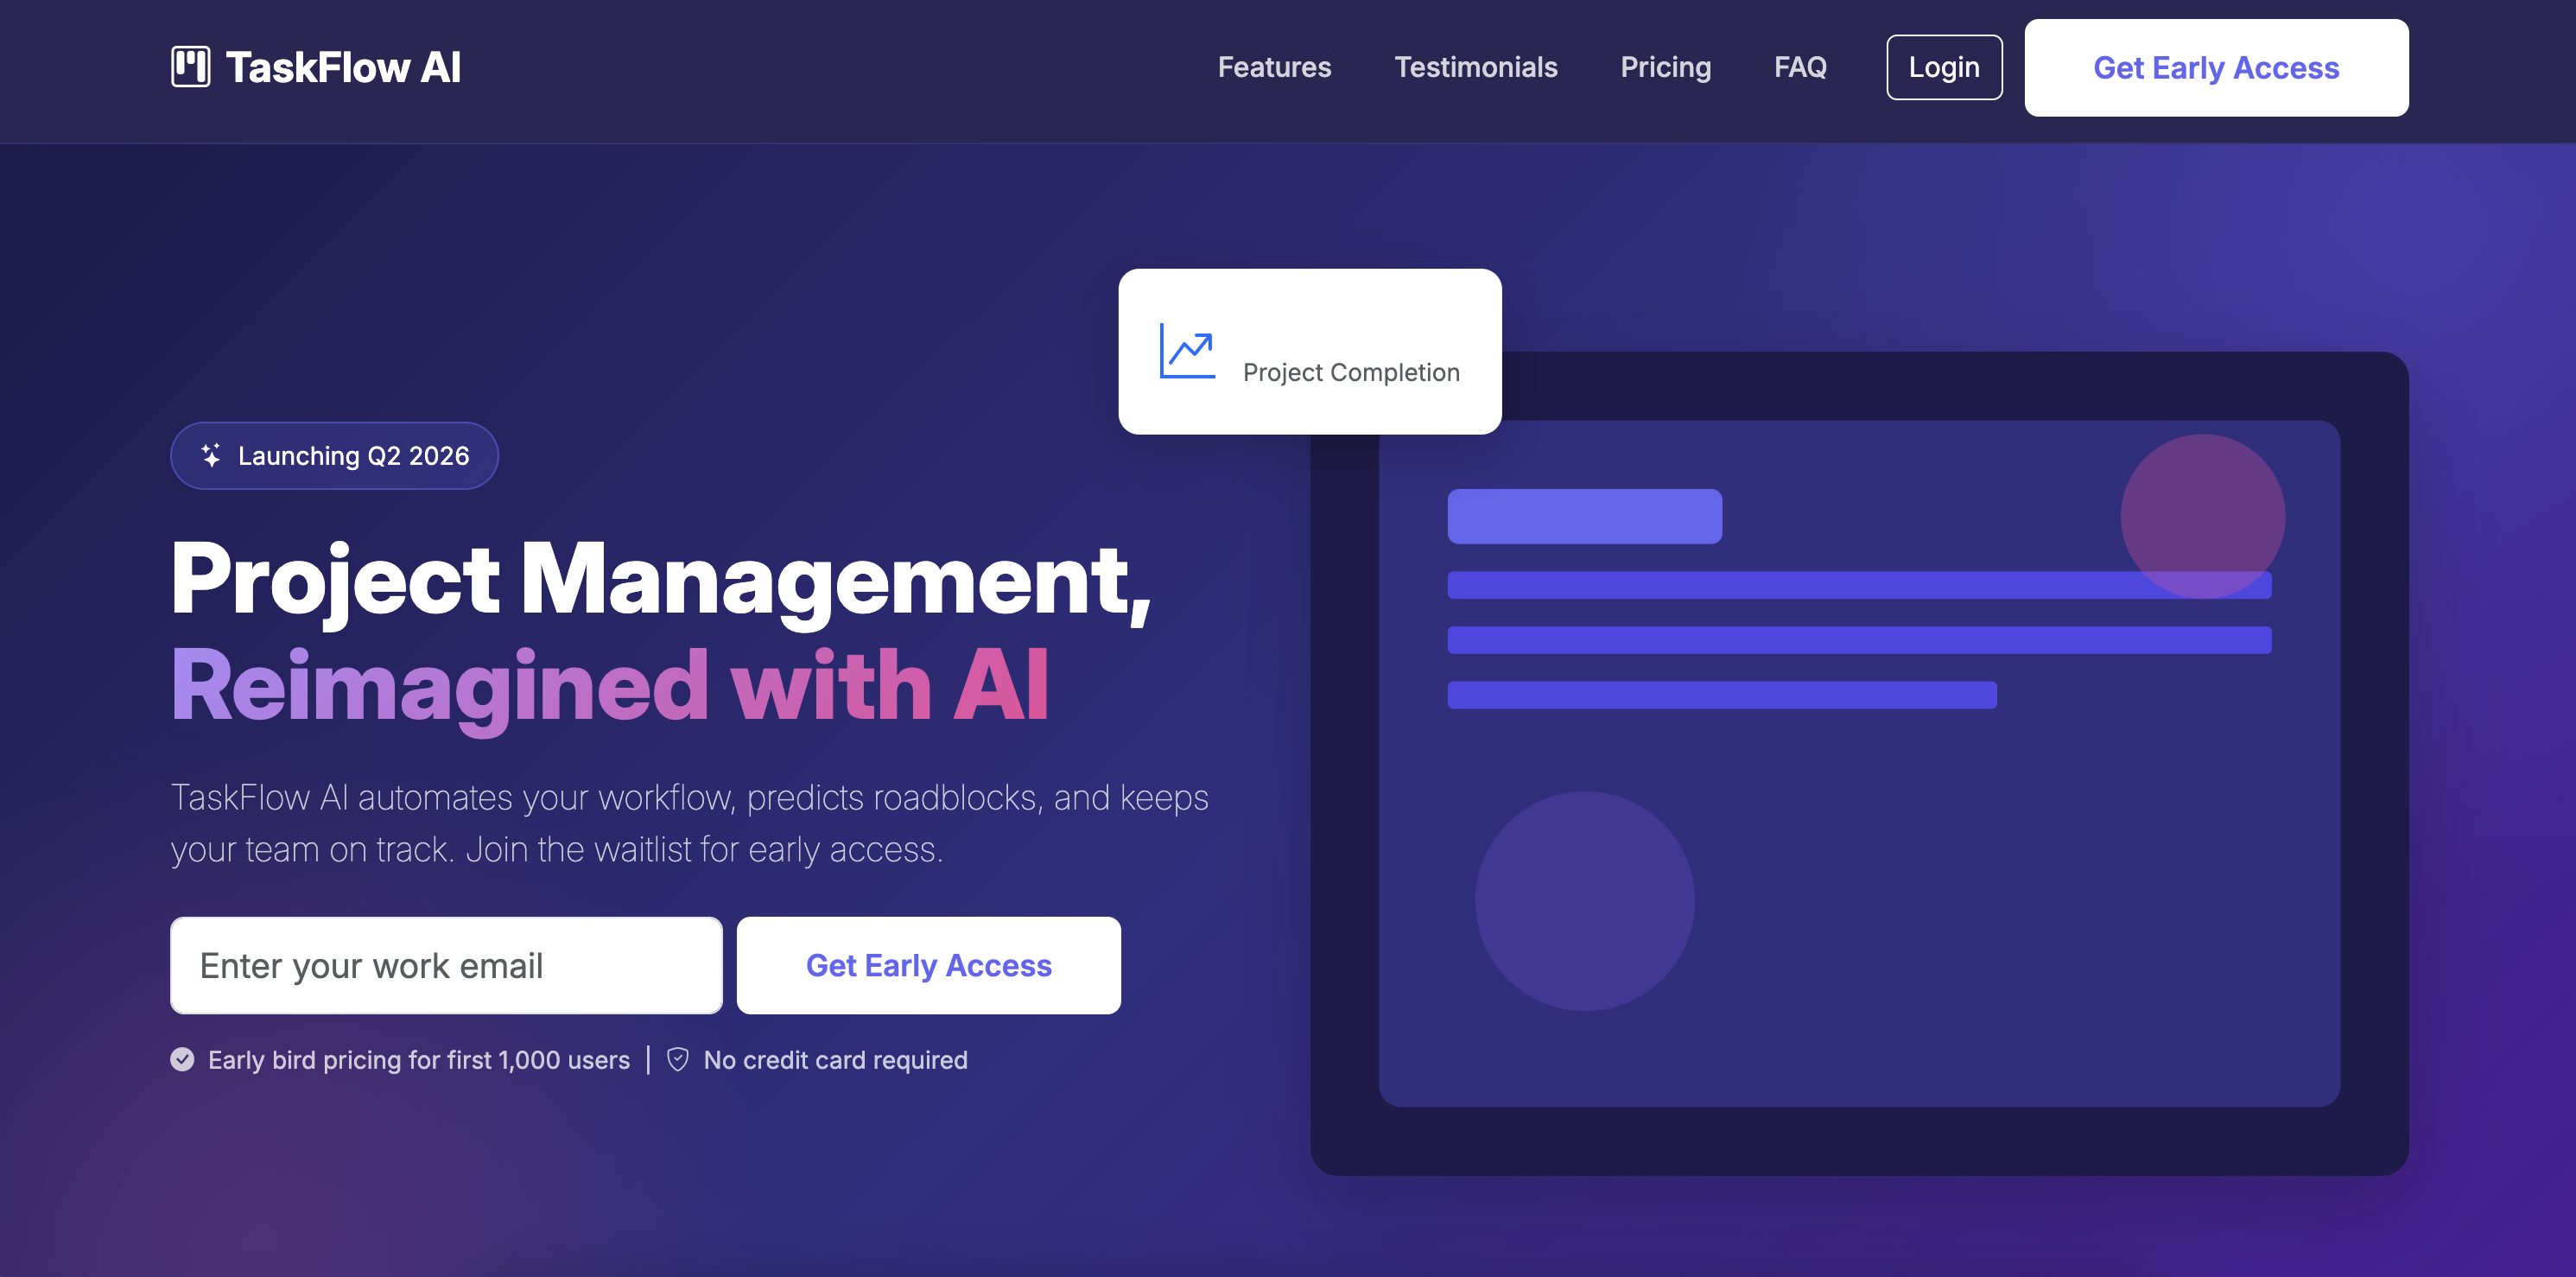
Example 1: Product Launch Landing Page
When to Use This Type
Use for: SaaS product launches, app releases, new feature announcements, pre-launch signups
Background: You're launching a new product and need a landing page to collect early signups and build anticipation.
Your Prompt:
💡 Pro Tip: Use Plan Mode first to review the proposed structure before building.
Based on the files in my connected folder, Build a product launch landing page for [PRODUCT NAME].

Required Sections:
1. Hero — Headline, subheadline, email signup, hero image
2. Problem/Solution — Pain points and how we solve them
3. Features — 3-6 key features with icons
4. Social Proof — Testimonials or beta quotes
5. Pricing — Early bird pricing or tiers
6. FAQ — 5-7 common questions
7. Final CTA — Urgency + signup

Technical:
- Single HTML file with Bootstrap 5 CSS
- Responsive design (mobile-first)
- Modern, clean aesthetic
- Form ready for integration

Style:
- Colors: [Your brand colors or "professional blue/purple"]
- Include smooth animations

Save to: [your-folder]/index.html
Expected Output:
Professional landing page with hero, features, social proof, pricing, FAQ, and email signup. Fully responsive with Bootstrap.
Customization
For SaaS product: Focus on features + pricing
For mobile app: Focus on screenshots + app store links
For physical product: Focus on benefits + customer photos
Landing Page Tips
✅ Do: Put primary CTA above the fold, use social proof, keep forms short
❌ Don't: Overwhelm with text, hide pricing, have multiple competing CTAs
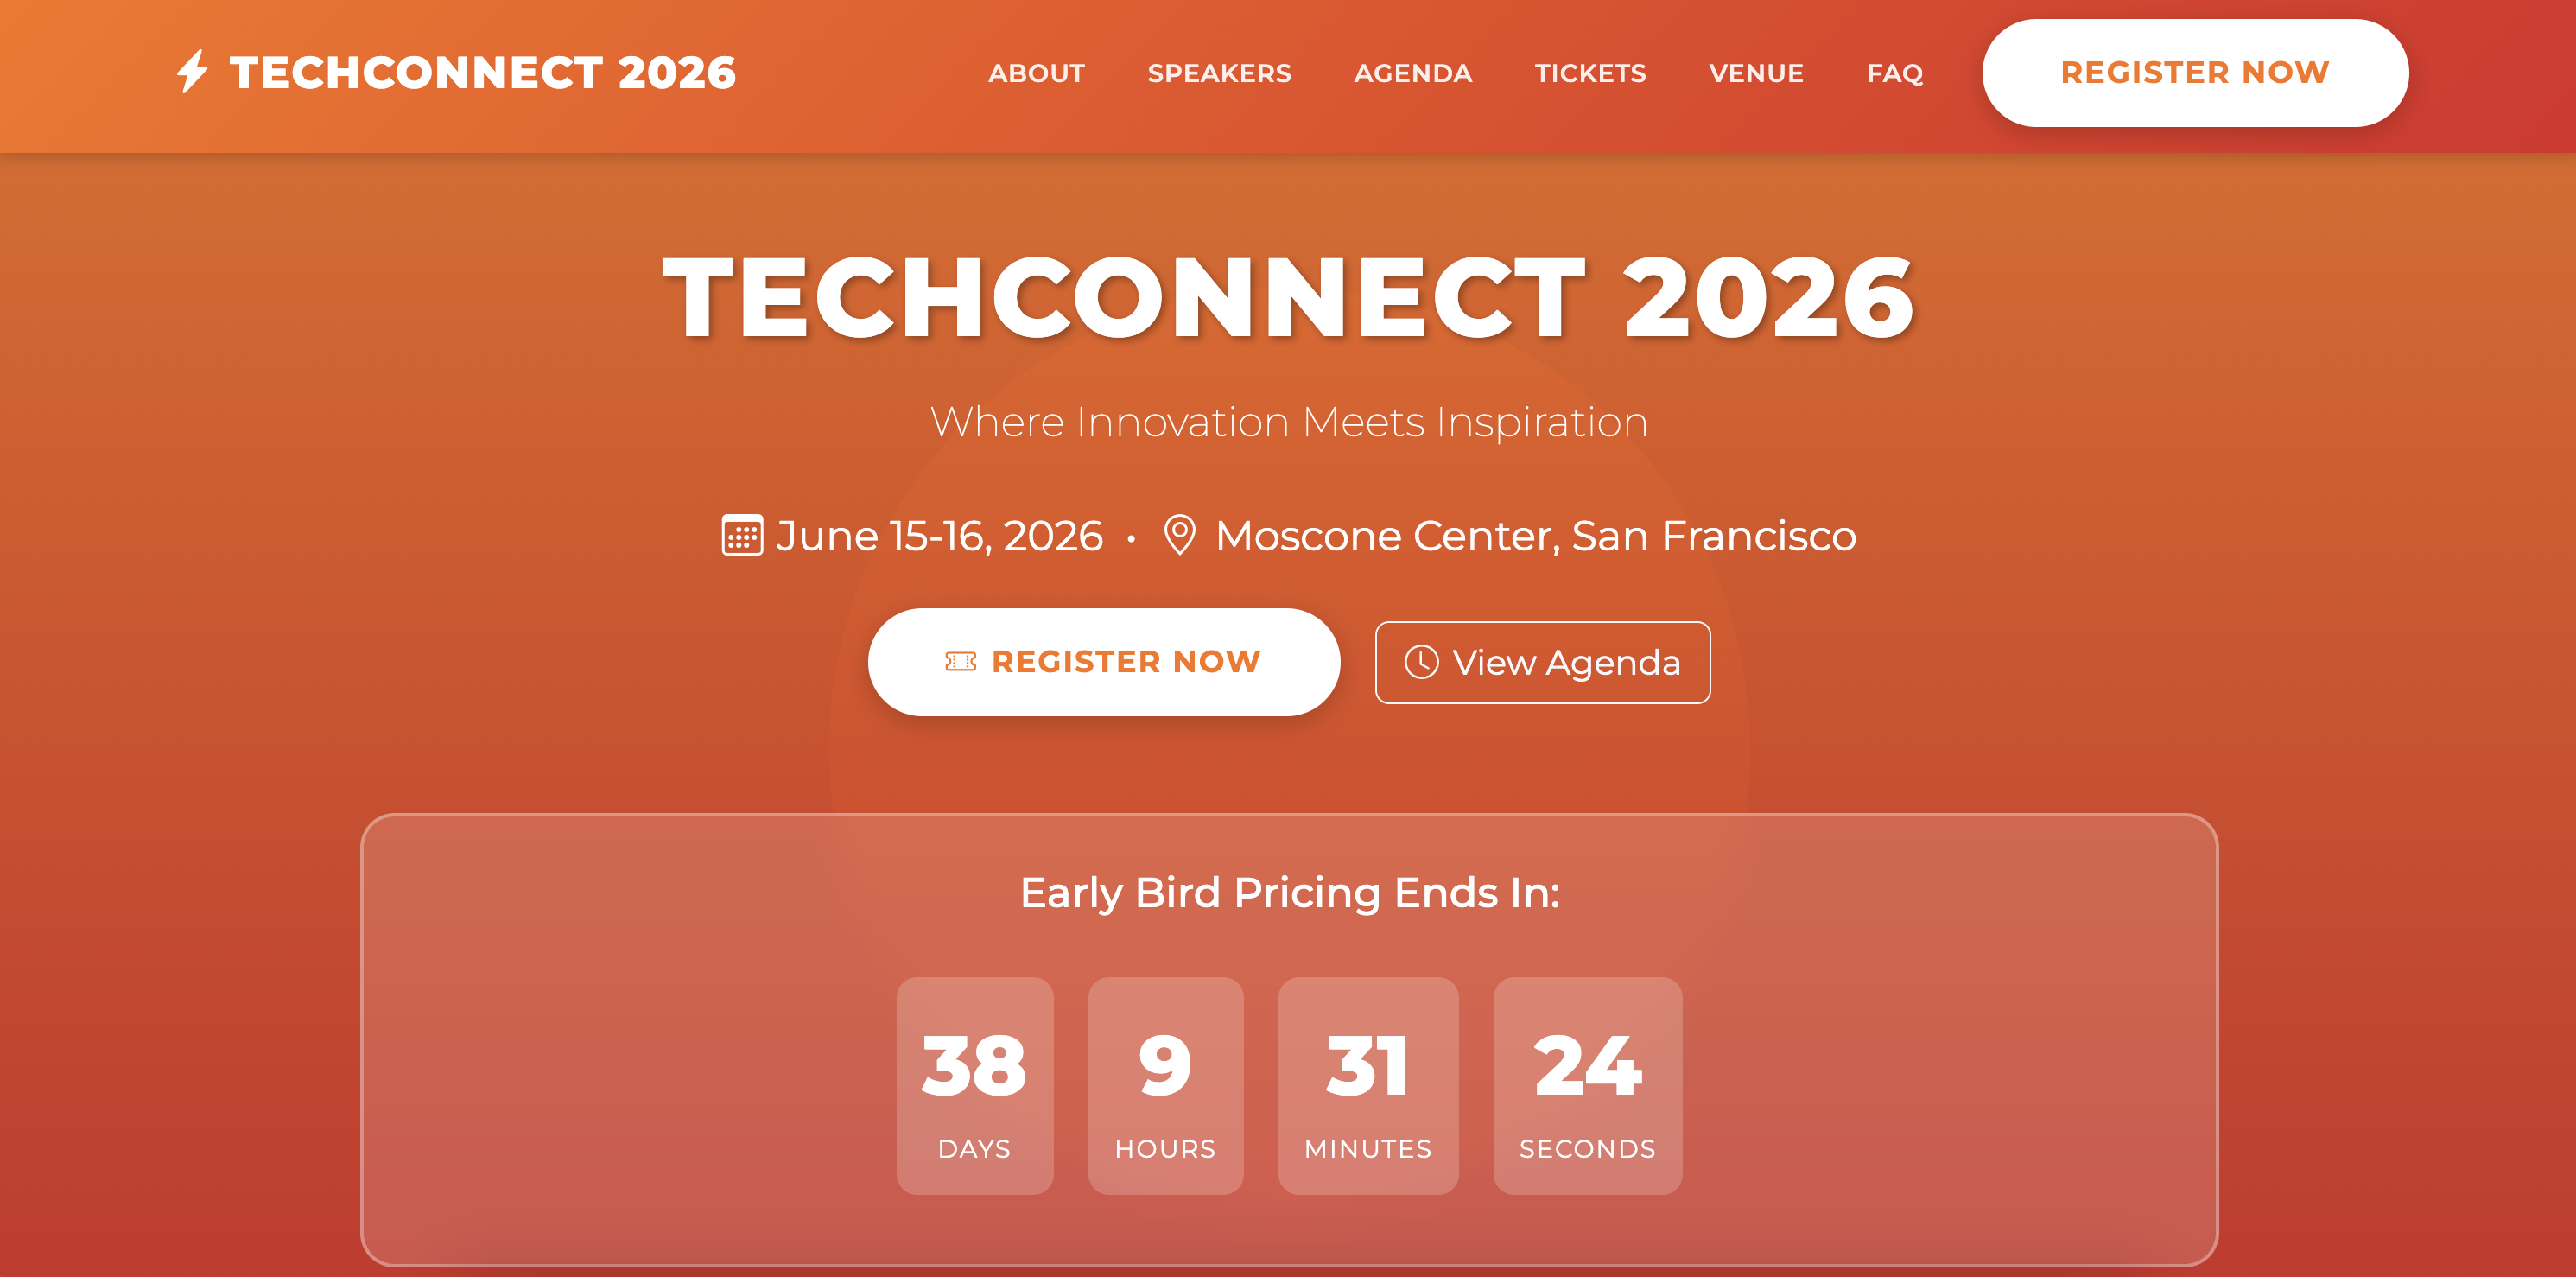
Example 2: Event Promotion Page
When to Use This Type
Use for: Conferences, webinars, workshops, meetups, virtual events
Background: You're organizing an event and need a registration page that showcases speakers, agenda, and drives ticket sales.
Your Prompt:
💡 Pro Tip: Use Plan Mode first to review the proposed structure before building.
Based on the files in my connected folder, build an event registration page for [EVENT NAME].

Required Sections:
1. Hero — Event name, date, location, register CTA, countdown
2. About — What attendees will learn
3. Speakers — Speaker cards with photos
4. Agenda — Day-by-day schedule
5. Pricing — Ticket tiers (Early Bird, Regular, VIP)
6. Sponsors — Sponsor logos by tier
7. Venue — Location, map, hotels
8. FAQ — Common questions
9. Registration — Attendee form

Technical:
- Single HTML file with Bootstrap 5 CSS
- Countdown timer to event
- Registration form ready
- Mobile responsive

Style:
- Colors: [Your brand colors or "energetic and professional"]
- Clear schedule layout

Save to: [your-folder]/index.html
Expected Output:
Event page with speaker lineup, agenda, pricing, venue info, registration form, and countdown timer.
Customization
For conference: Full agenda + multiple tracks
For webinar: Simple schedule + single speaker
For workshop: Focus on learning outcomes + limited seats
Event Page Tips
✅ Do: Show speaker photos prominently, create urgency with countdown, make registration simple
❌ Don't: Hide pricing, have complicated registration, skip mobile optimization
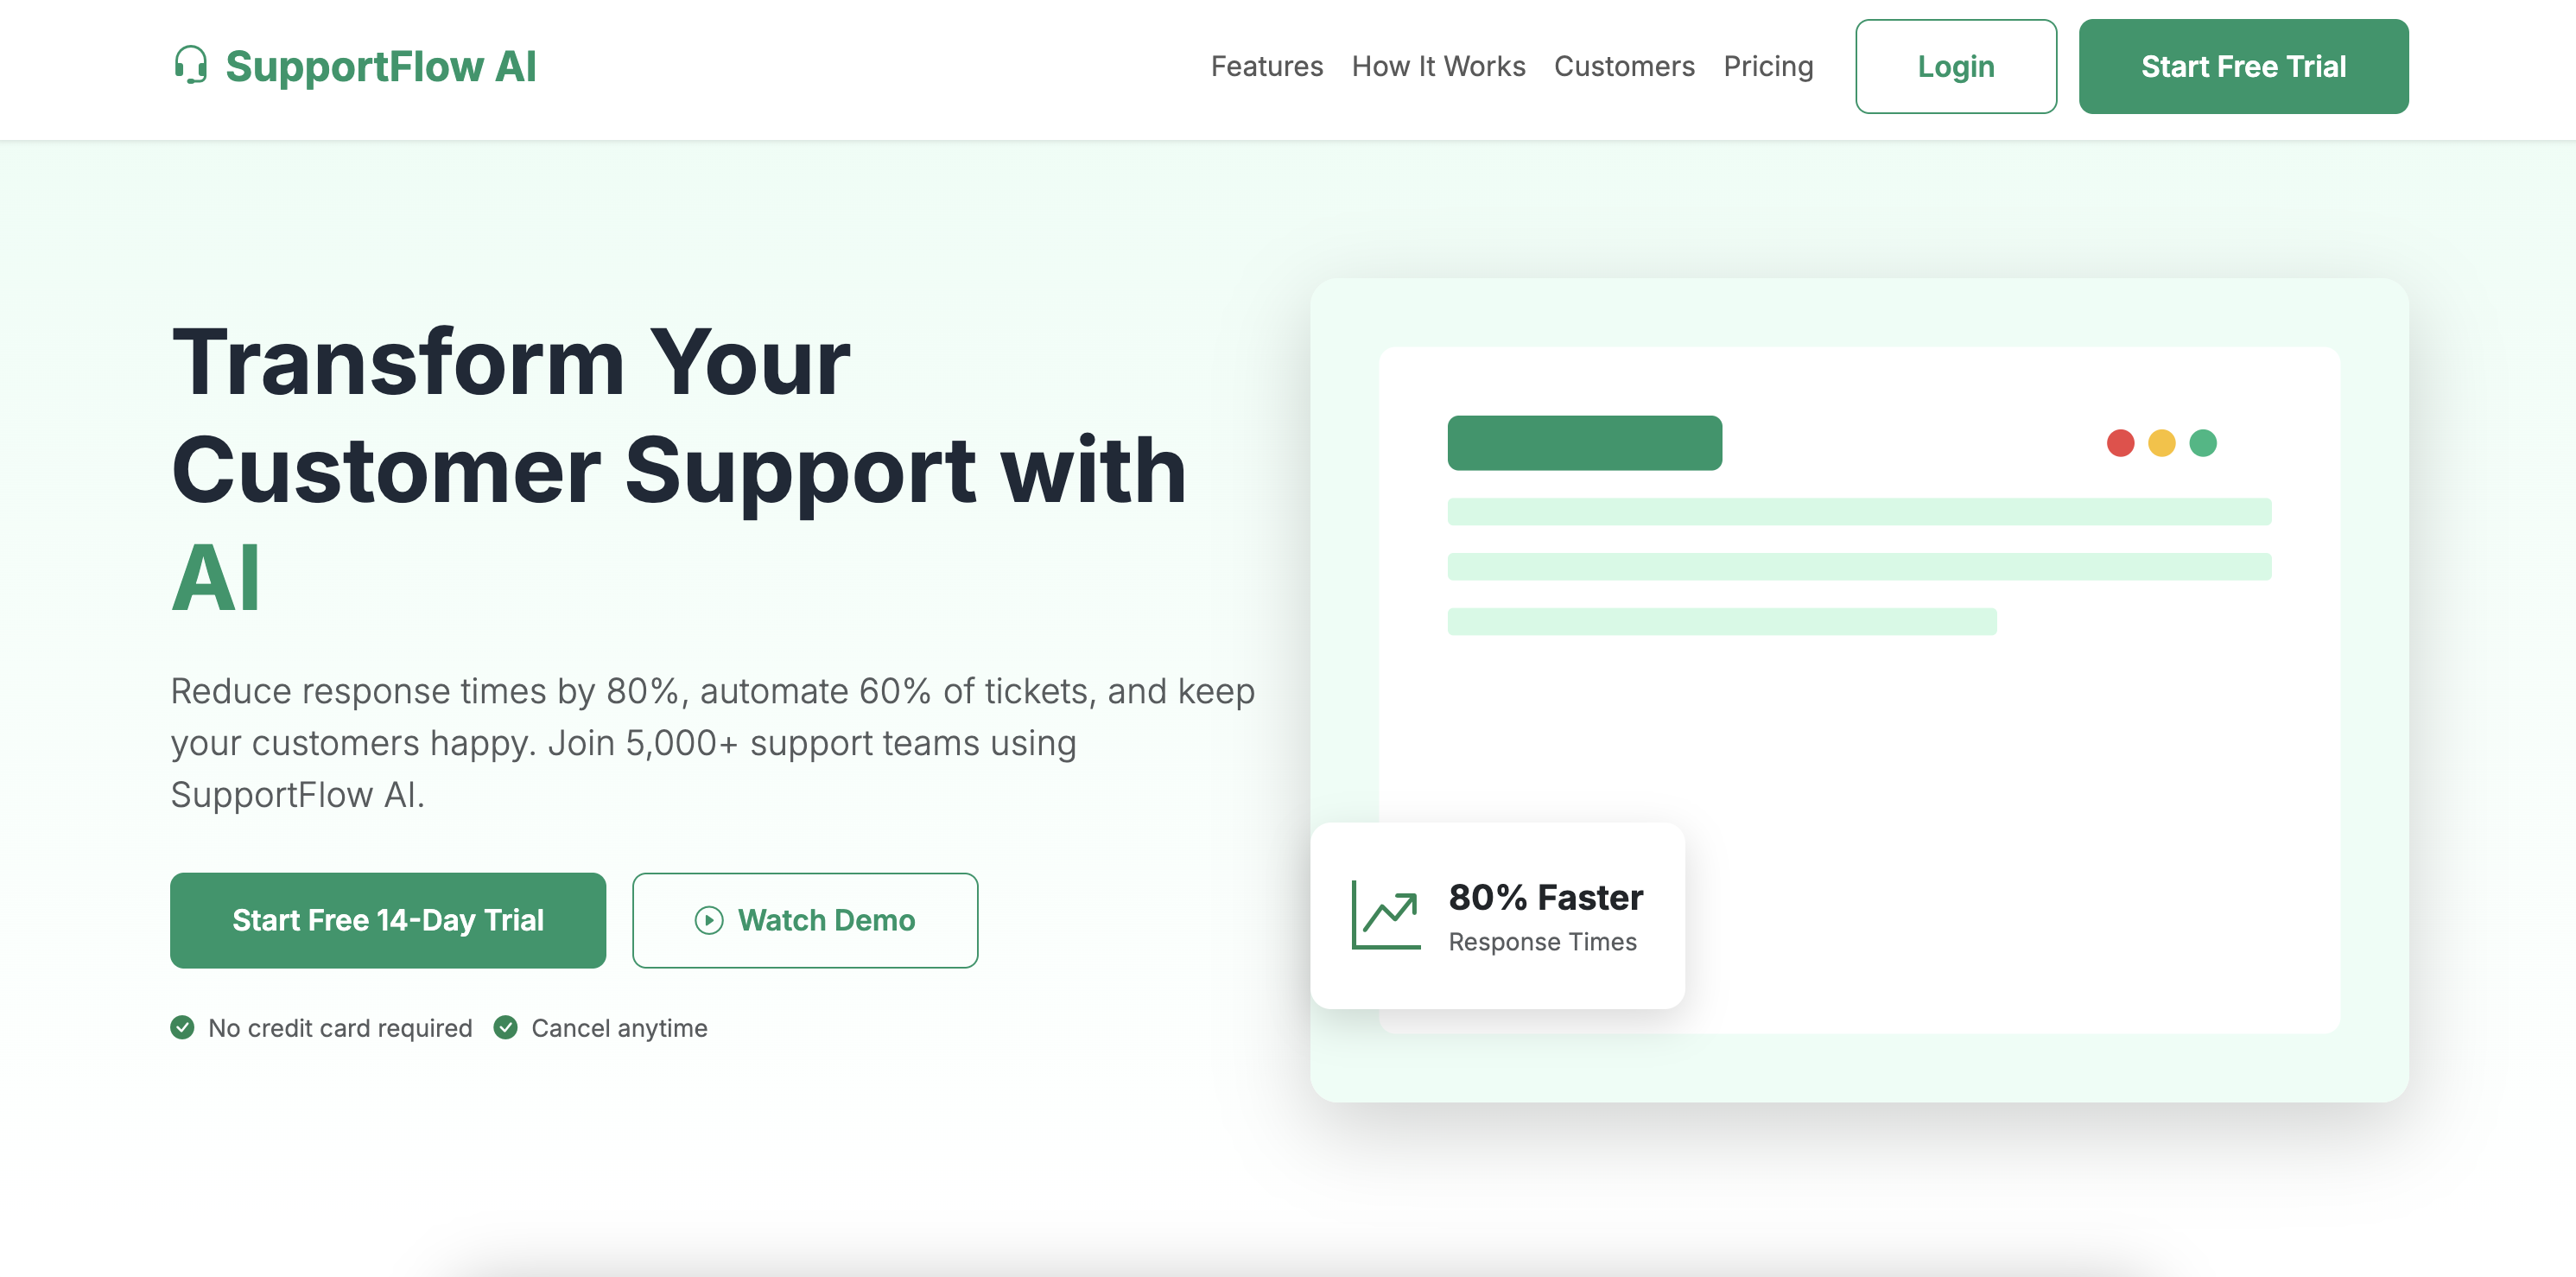
Example 3: SaaS Homepage
When to Use This Type
Use for: B2B SaaS websites, subscription services, software product homepages
Background: You're launching a B2B SaaS platform and need a homepage that converts visitors to free trial signups.
Your Prompt:
💡 Pro Tip: Use Plan Mode first to review the proposed structure before building.
Based on the files in my connected folder, build a SaaS homepage for [PRODUCT NAME].

Required Sections:
1. Nav — Logo, menu, Login + Trial buttons
2. Hero — Value prop, subhead, primary + secondary CTA, hero image
3. Social Proof — "Trusted by" with customer logos
4. Problem/Solution — Pain points and solution
5. Features — 6-9 features in grid
6. How It Works — 3-4 step process
7. Testimonials — Customer quotes with photos
8. Pricing — 3 tiers with features
9. FAQ — Common questions
10. Final CTA — Risk reversal (no credit card)
11. Footer — Links, legal, social

Technical:
- Single HTML file with Bootstrap 5 CSS
- Smooth scroll navigation
- Pricing toggle (monthly/annual)
- Mobile responsive

Style:
- Colors: [Professional SaaS blue/purple]
- Clean, modern aesthetic
- Clear visual hierarchy

Save to: [your-folder]/index.html
Expected Output:
Professional SaaS homepage with nav, hero, features, social proof, pricing, testimonials, FAQ, and footer. Optimized for trial signups.
Customization
For B2B SaaS: Focus on ROI + case studies
For B2C app: Focus on benefits + app store links
For enterprise: Focus on security + compliance
SaaS Homepage Tips
✅ Do: Lead with value prop, show product early, make pricing transparent, use social proof
❌ Don't: Bury the CTA, hide pricing, use jargon, skip mobile optimization
Review & Refine
Important: Always Review AI-Generated Output
AI agents are powerful assistants, but human review is essential. Always verify the generated website before publishing.
What to Check
After your agent generates the website, review for:
- Design accuracy — Colors, fonts, spacing match your brand
- Content accuracy — All text, pricing, and details are correct
- Functionality — All buttons, links, and forms work
- Responsive design — Looks good on desktop, tablet, and mobile
- Performance — Images optimized, loads quickly
How to Request Corrections
If you notice any issues, continue the conversation with your agent and include a screenshot of the current output.
For design issues:
"The [color/font/spacing] doesn't match our brand. Please use [specific details] instead."
For content errors:
"The [pricing/feature/testimonial] text is incorrect. Please update to: [correct text]."
For functionality issues:
"The [button/form/link] doesn't work on [mobile/desktop]. Please fix."
For layout refinements:
"The [section name] feels too [crowded/spacious]. Please adjust spacing."
Best Practices
✅ Do: Test on multiple devices, verify all links, check loading speed
❌ Don't: Publish without testing, assume everything is correct, skip mobile testing
Remember
Your agent is a collaborative tool. The best results come from AI efficiency + human oversight.
How to Improve Results
Tip 1: Provide Brand Guidelines
✅ Good: Logo files, color hex codes (#41b4a5), font names
❌ Vague: "Make it look professional"
Tip 2: Be Specific About Goals
✅ Good: "Primary goal: collect email signups. Target conversion: 5%+"
❌ Vague: "Make it convert well"
Tip 3: Provide Quality Content
✅ Good: Well-written copy, high-res images, real testimonials
❌ Vague: Placeholder text, low-res images
Tip 4: Reference Websites You Like
✅ Good: "We like the clean design of [website.com]"
❌ Vague: "Make it look modern"
Tip 5: Specify Technical Requirements
✅ Good: "Integrate with Mailchimp, add Google Analytics"
❌ Vague: "Make it work with our tools"
Tip 6: Iterate in Stages
✅ Good: "First finalize hero, then features, then pricing..."
❌ Vague: "Build everything at once"
Tip 7: Test Before Launch
After generating the HTML file:
- Open in Chrome, Safari, Firefox, Edge
- Test on desktop, tablet, and mobile
- Click all buttons and links
- Test form submissions
- Check loading speed (target: < 3 seconds)
If you notice issues, describe them and ask the agent to refine.
Troubleshooting
General Issues
| Issue | Likely Cause | What to Try |
|---|---|---|
| Design doesn't match brand | No brand guidelines | "Use these colors: #XXX, #YYY. Font: [Name]" |
| Website looks dated | No style references | "Use modern design like [reference site]" |
| Forms don't submit | Backend needed | "Add form action for [Mailchimp/HubSpot]" |
| Images don't load | Wrong file paths | "Images in /images/. Update paths" |
| Mobile layout broken | Not responsive | "Ensure mobile-first responsive design" |
| Slow loading | Large images | "Optimize images for web, use SVG for logos" |
Website-Specific Issues
| Issue | Website Type | What to Try |
|---|---|---|
| Low conversion | All types | "Add social proof, simplify forms, prominent CTA" |
| Confusing navigation | Multi-section | "Simplify menu, add anchor links" |
| Pricing unclear | SaaS/Product | "Show pricing early, compare tiers clearly" |
| No urgency | Event/Launch | "Add countdown, show limited spots" |
| Doesn't work on mobile | All types | "Mobile-first design, test touch targets" |
Related Use Cases
- Create Presentation Slides — Create pitch decks to complement your website
- Auto-Fill Forms — Populate lead capture forms with CRM data
- Customer Insight & Strategy — Analyze website analytics and user behavior