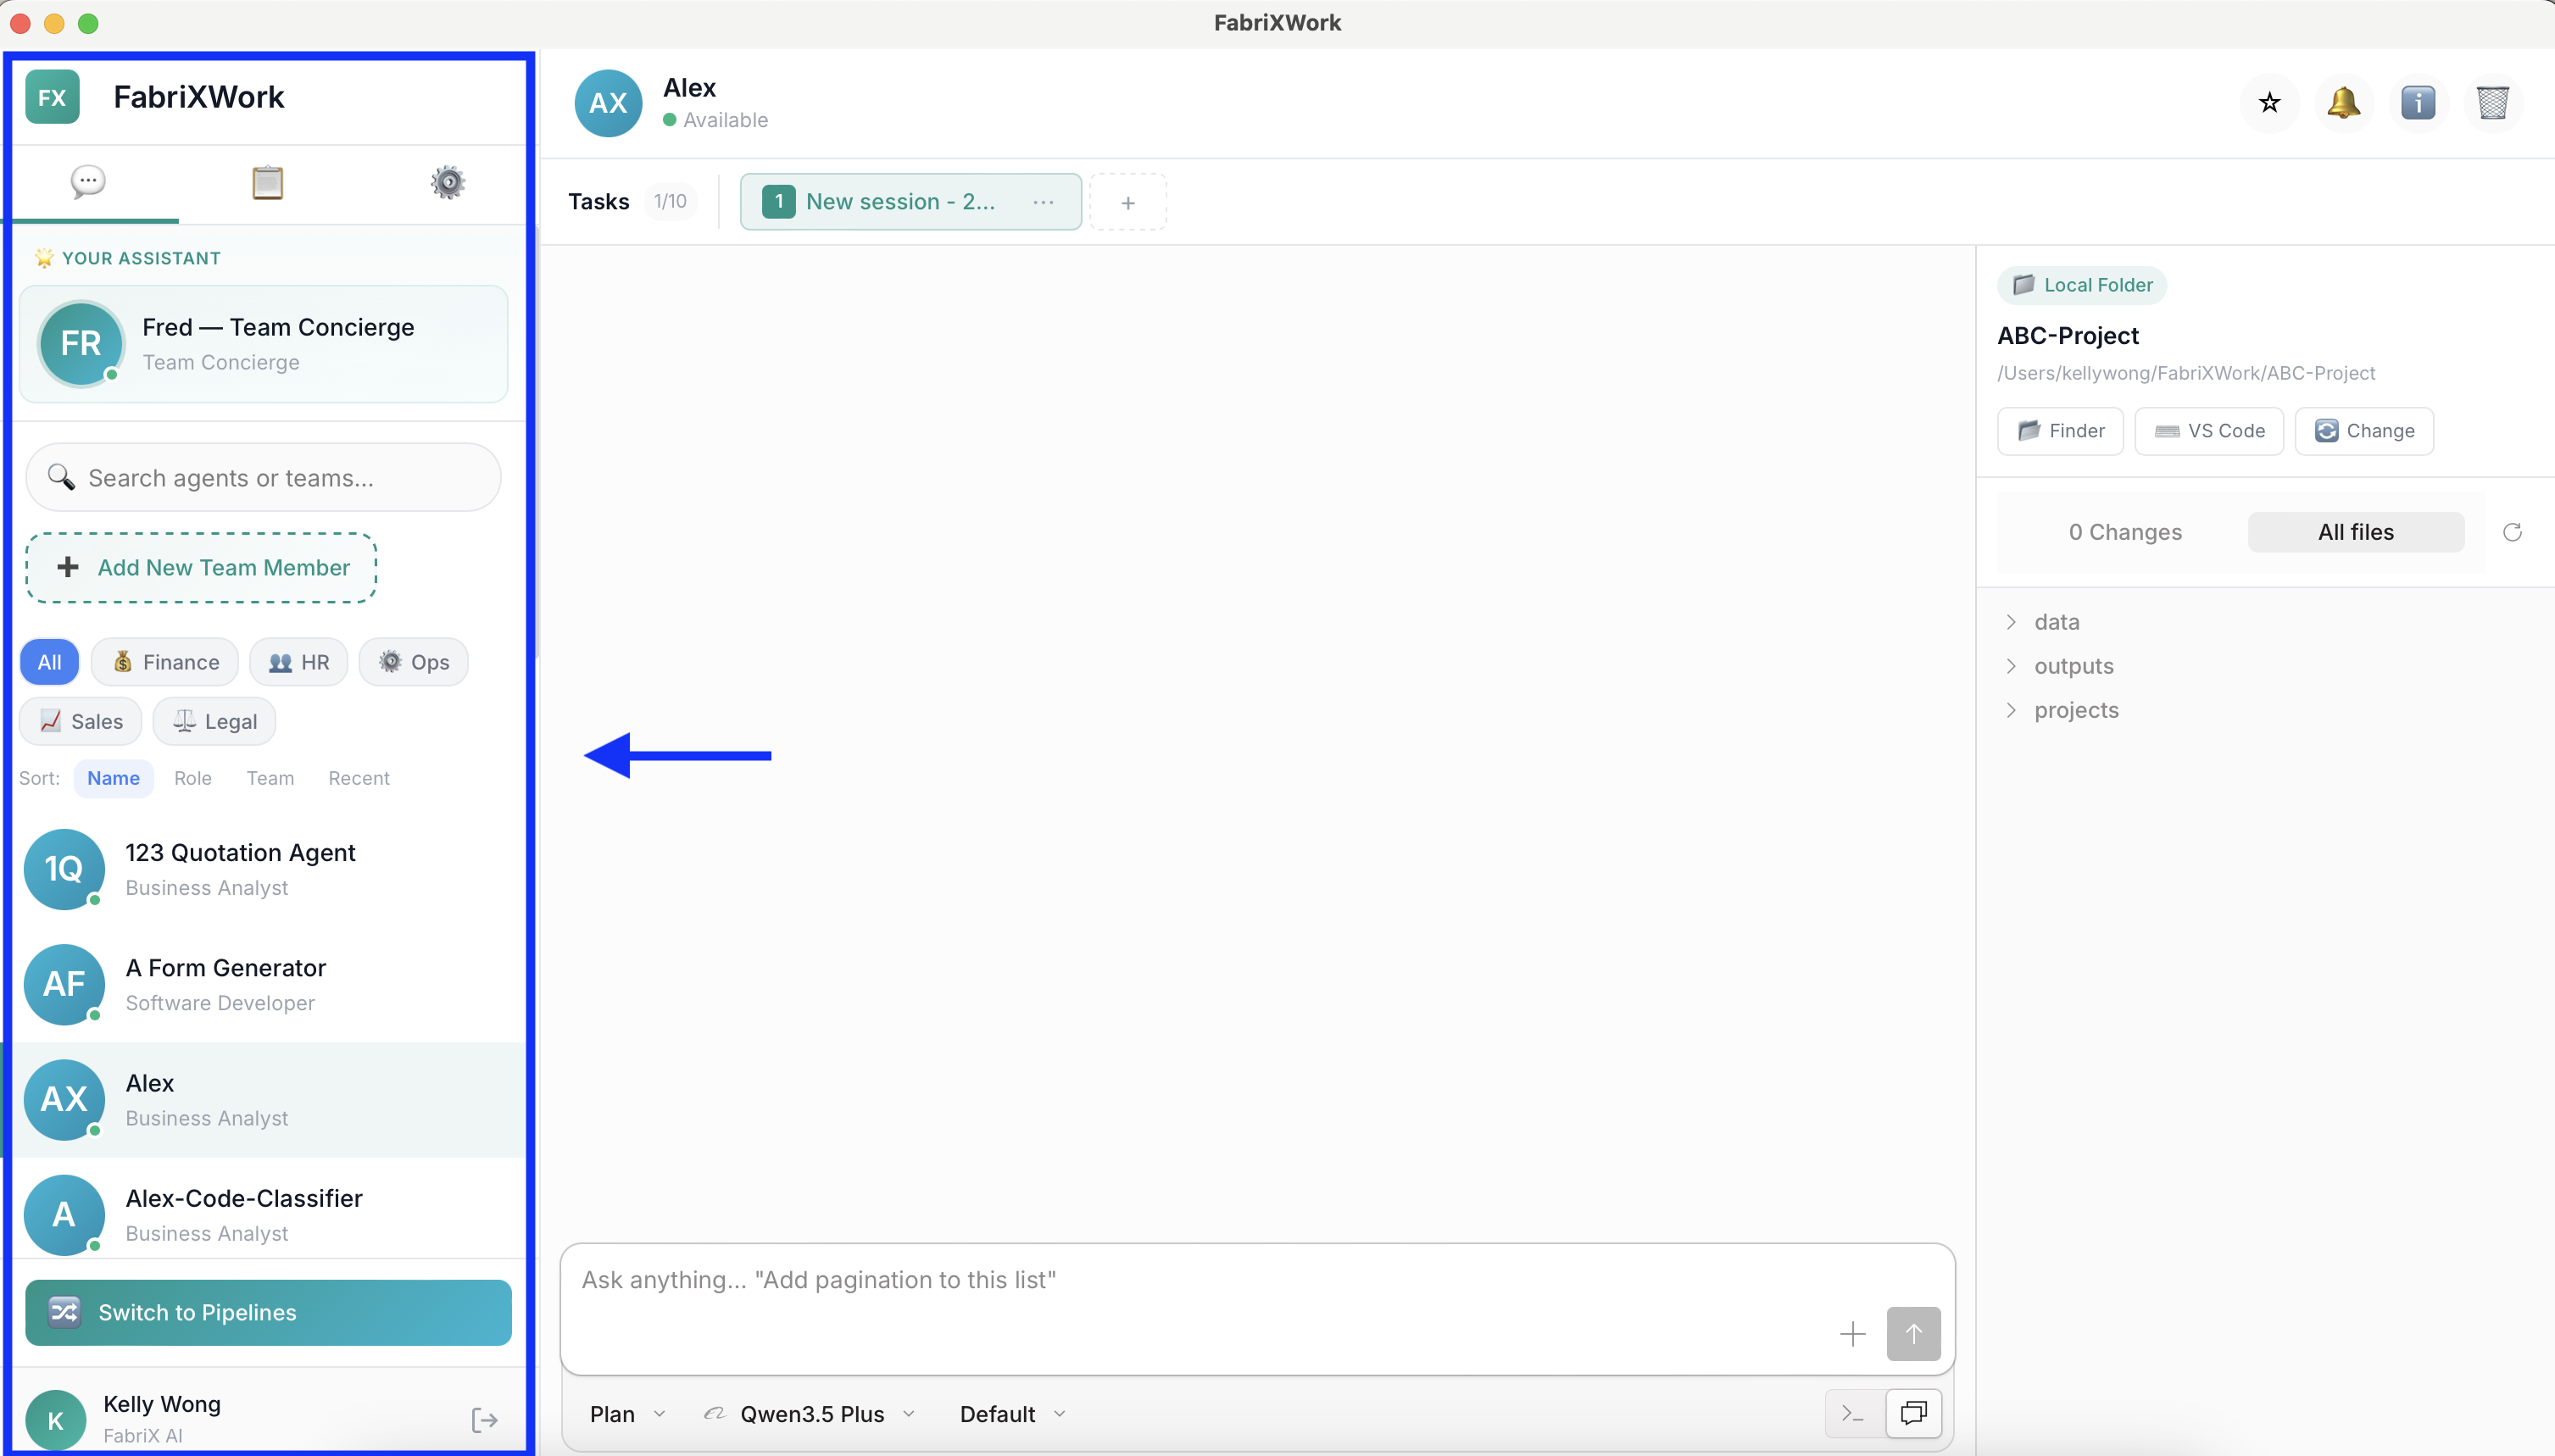
Navigating FabriXWork
This guide walks you through the FabriXWork interface so you know where everything is and how to use it.
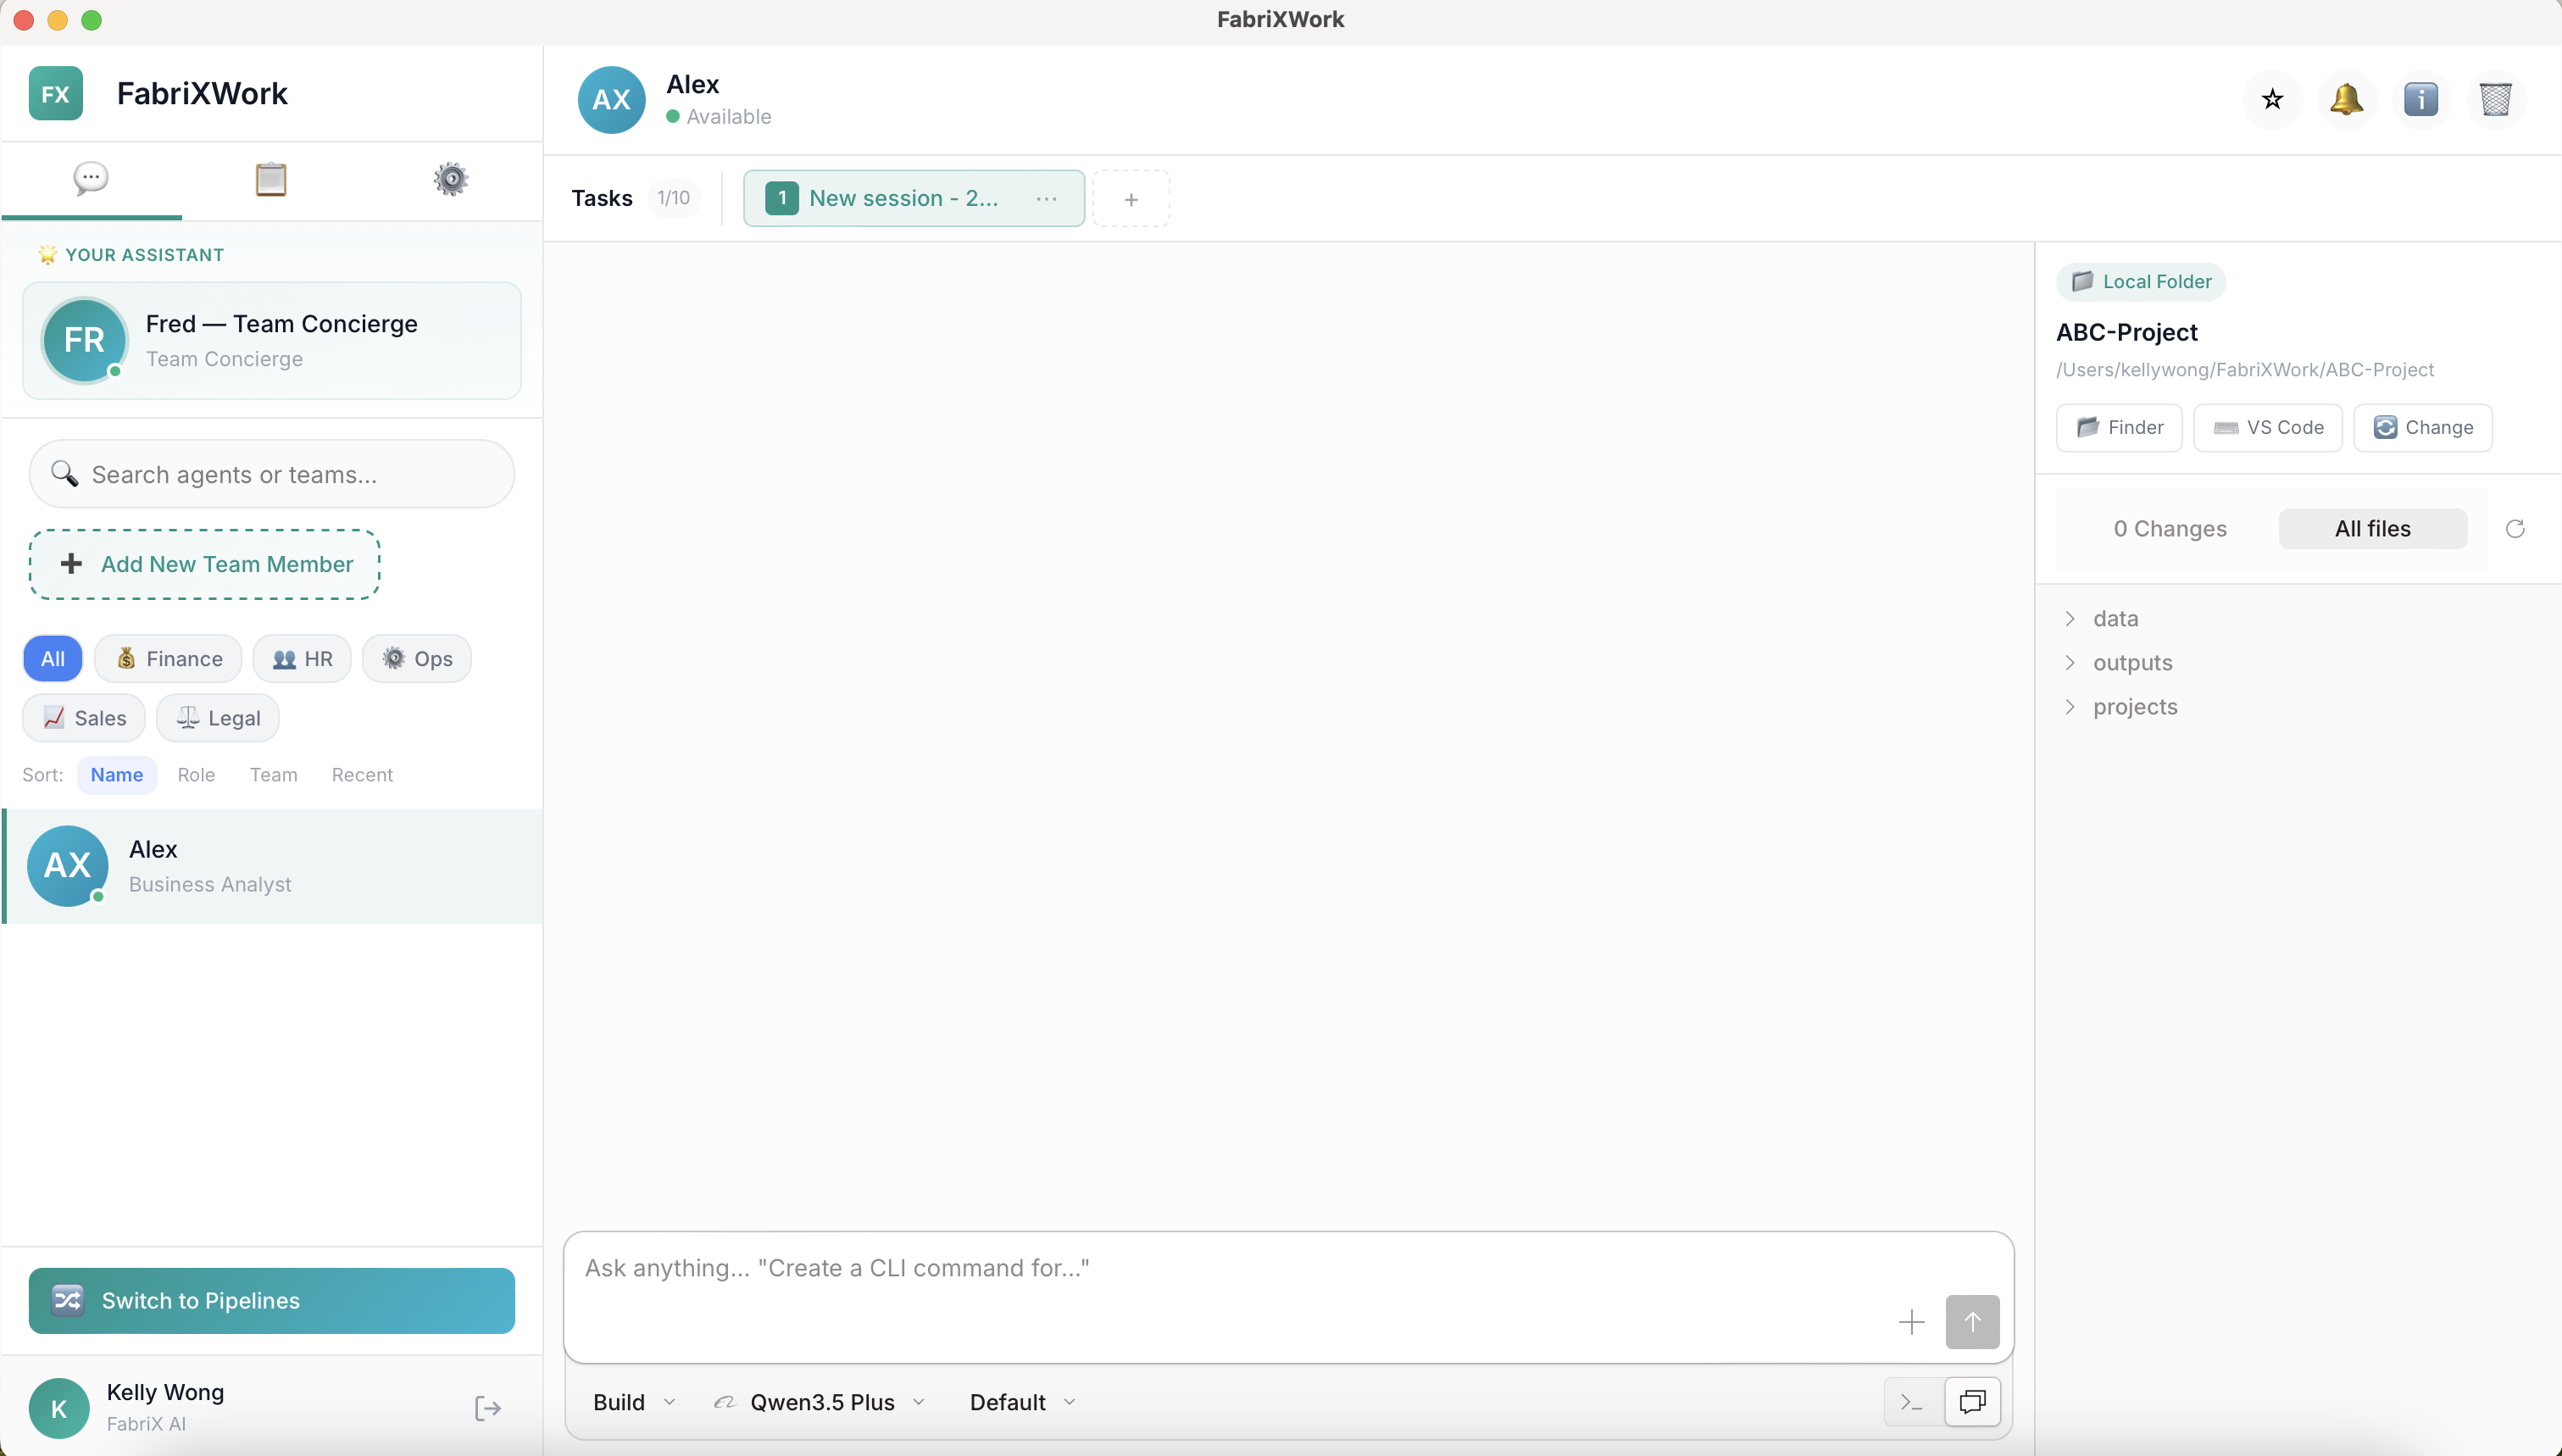
Overview
The FabriXWork interface has three main areas:
- Header Bar (top) — Agent name, session tabs, and action buttons
- Main Chat Area (center-left) — Your conversation with the agent
- Workspace Panel (right) — Connected folder and file management
Let's explore each section in detail.
Header Bar
The header bar runs across the top and contains:

Agent Name & Status (Left Side)
- Agent avatar — Shows the agent's initials (e.g., "AX" for Alex)
- Agent name — Click to access agent details
- Status indicator — Green dot means "Available"
Tasks & Sessions (Center)
- Tasks — Displays your current task count (e.g., “1/10” means 1 out of 10 tasks created)
- Task tabs — Switch between different tasks within this agent
- "+" button — Create a new task (up to 10 tasks per agent)
Action Buttons (Right Side)
Four buttons appear in the top-right corner:
| Button | What It Does |
|---|---|
| ⭐ Star | Pin this agent to the top of your sidebar for quick access |
| 🔔 Bell | View notifications and alerts from this agent |
| ℹ️ Info | View detailed agent information and settings |
| 🗑️ Delete | Remove this agent from your team |
Info Panel (ℹ️ Button)
Click the ℹ️ button to open the agent information panel on the right side:
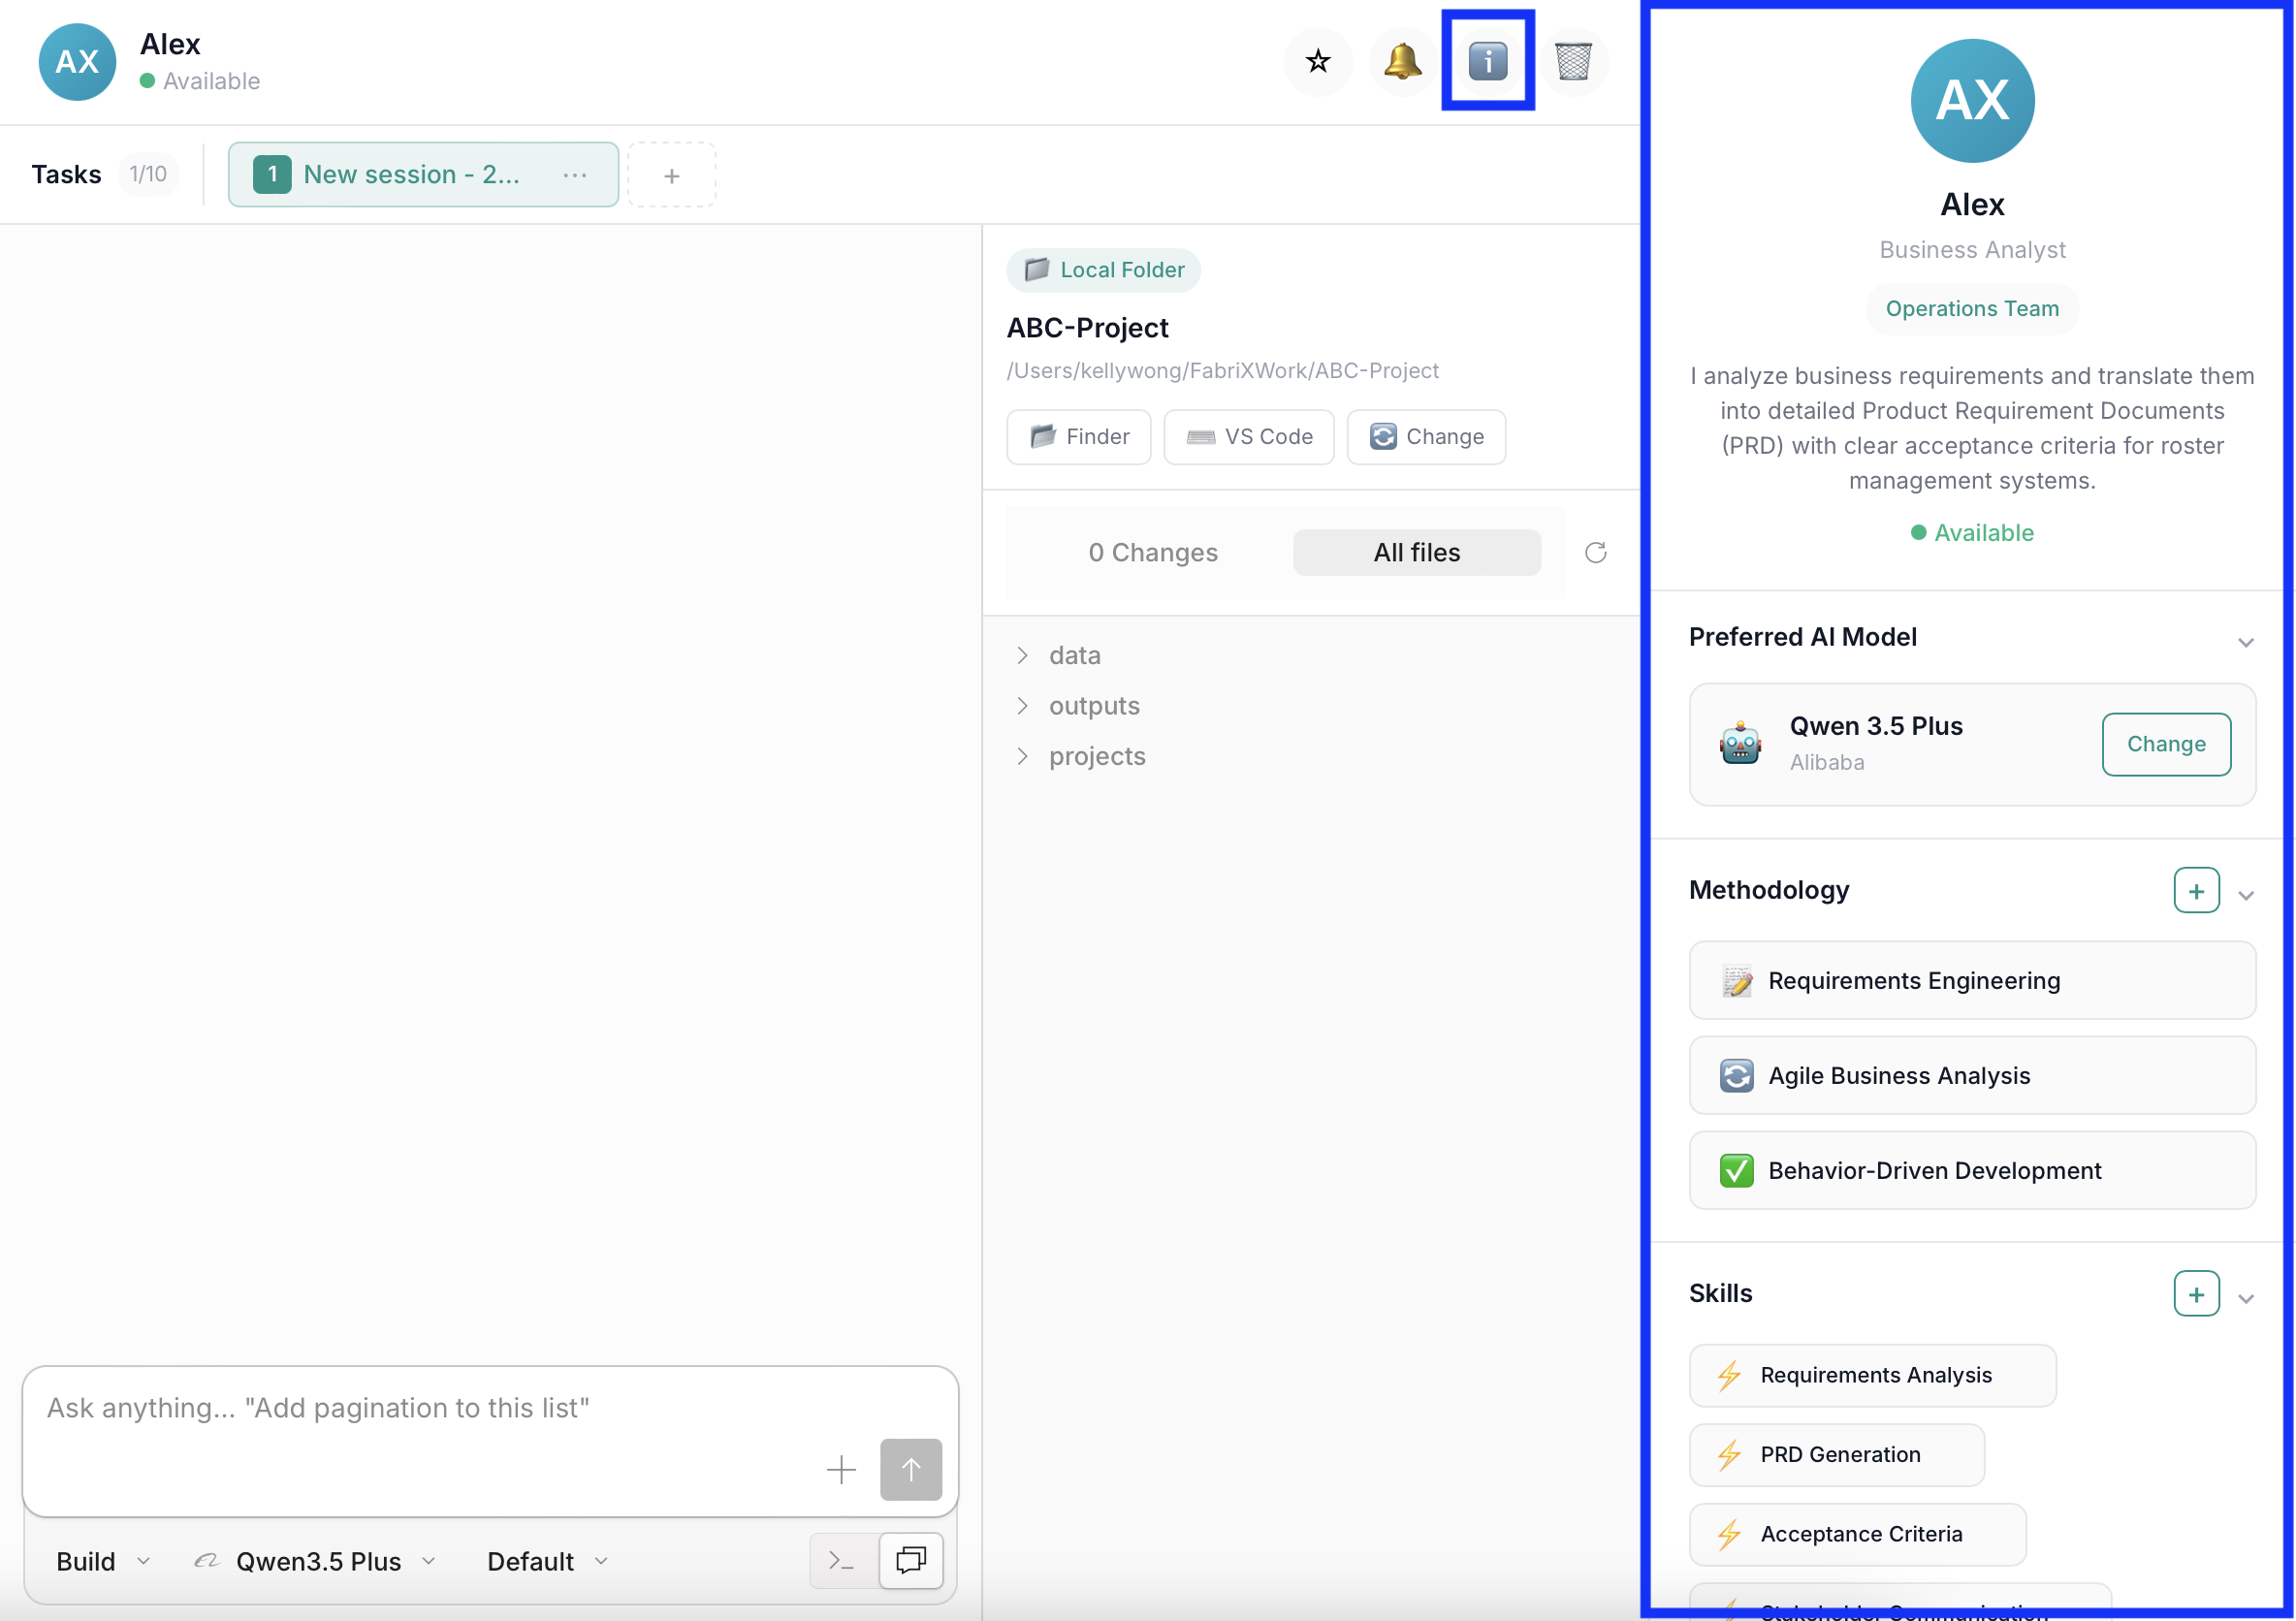
Agent Profile Section
At the top of the info panel:
- Agent avatar and name — e.g., "Alex, Business Analyst"
- Team — Which team this agent belongs to (e.g., "Operations Team")
- Description — What this agent does and their specialties
- Status — Shows if the agent is "Available"
Preferred AI Model
Shows which AI model this agent uses:
- Current model — e.g., "Qwen 3.5 Plus" by Alibaba
Methodology
Shows the agent's working methodologies:
- Pre-configured approaches — e.g., "Requirements Engineering", "Agile Business Analysis"
Skills
Lists the agent's capabilities:
- Skill tags — e.g., "Requirements Analysis", "PRD Generation", "Acceptance Criteria"
- Skills are pre-configured based on the agent's role
Connectors
Integrate with external tools and services:
| Connector | Description |
|---|---|
| AtChative | Knowledge Space for requirements |
| Confluence | Documentation wiki |
| Jira | Issue tracking |
| Google Drive | Cloud storage |
Main Chat Area
The center-left area is where you interact with your agent:
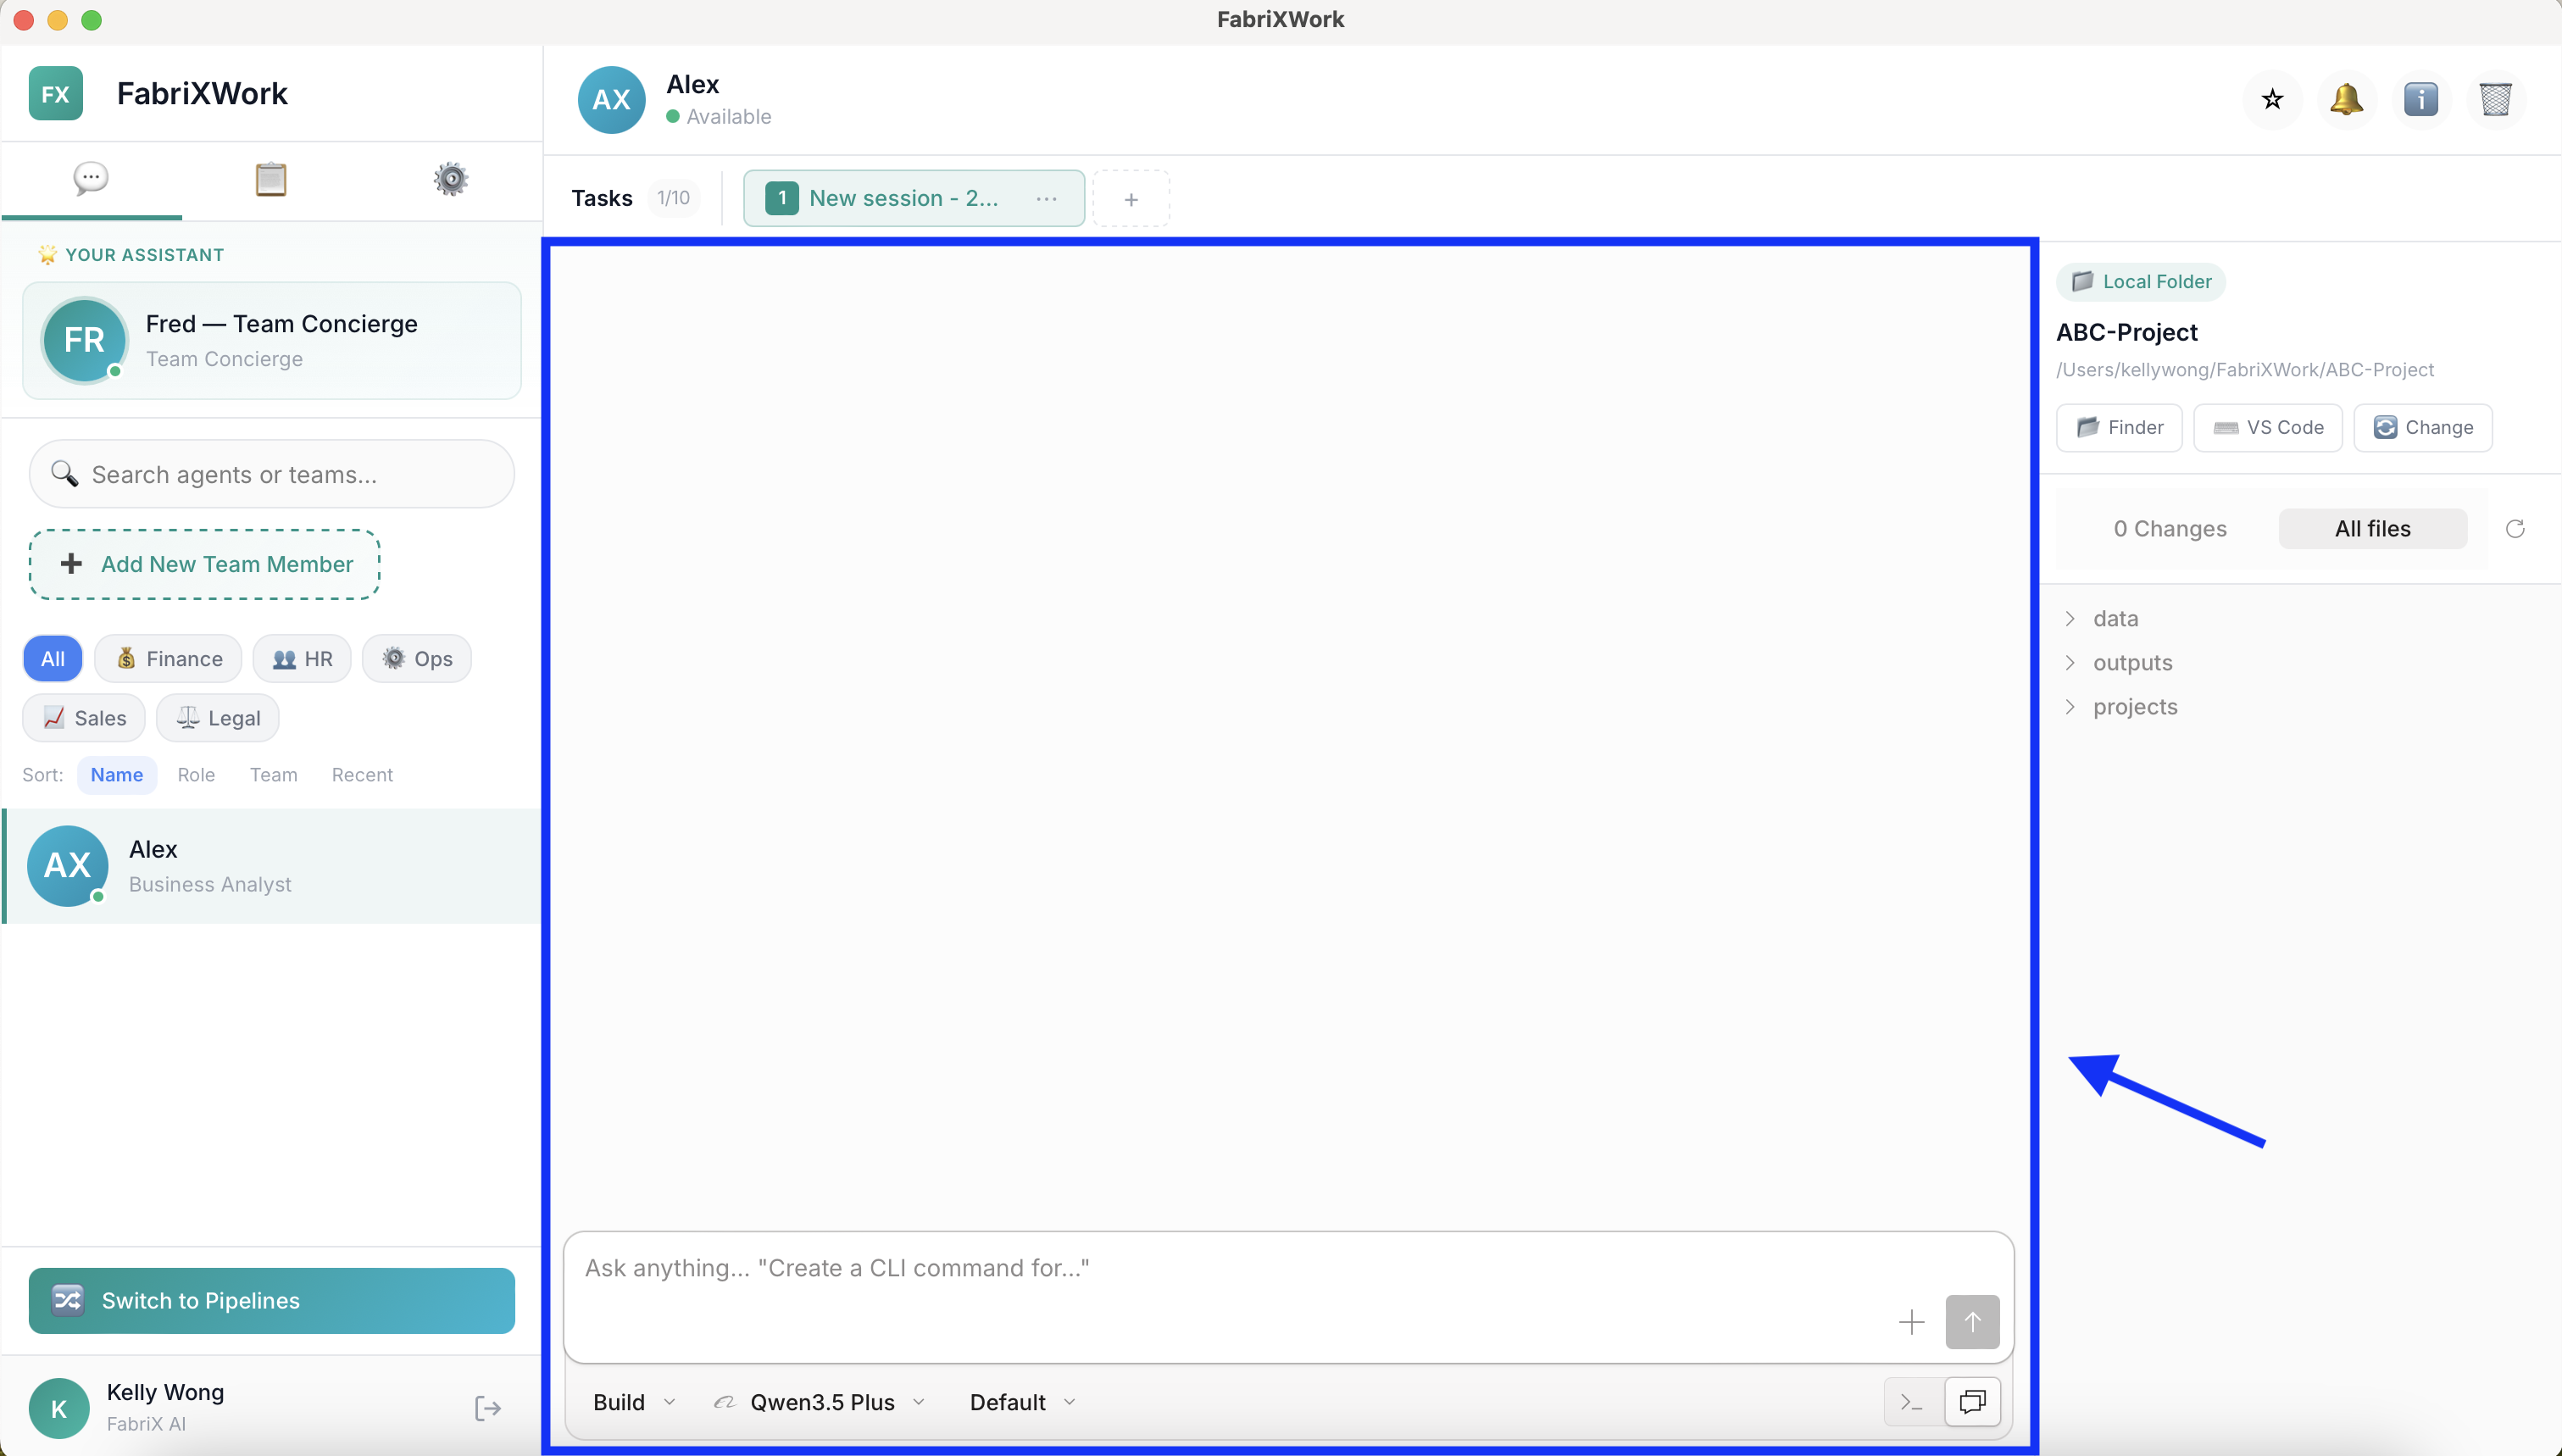
Chat Input Box (Bottom)
- Text field — Type your instructions here
- "+" button — Attach files to your message (e.g. JPG, PNG, PDF)
- "↑" Send button — Submit your instruction
Mode & Settings Bar (Below Input)
| Control | What It Does |
|---|---|
| Build/Plan | Toggle between Build Mode (can modify files) and Plan Mode (read-only) |
| Model selector | Choose which AI model to use for this session |
| Thinking method | Set how deeply the agent thinks (Low, Default, Medium, High) |
| Shell/Prompt switch | Toggle between Shell mode (run commands) and Prompt mode (chat input) |
Workspace Panel (Right Side)
The workspace panel shows the connected folder and files:
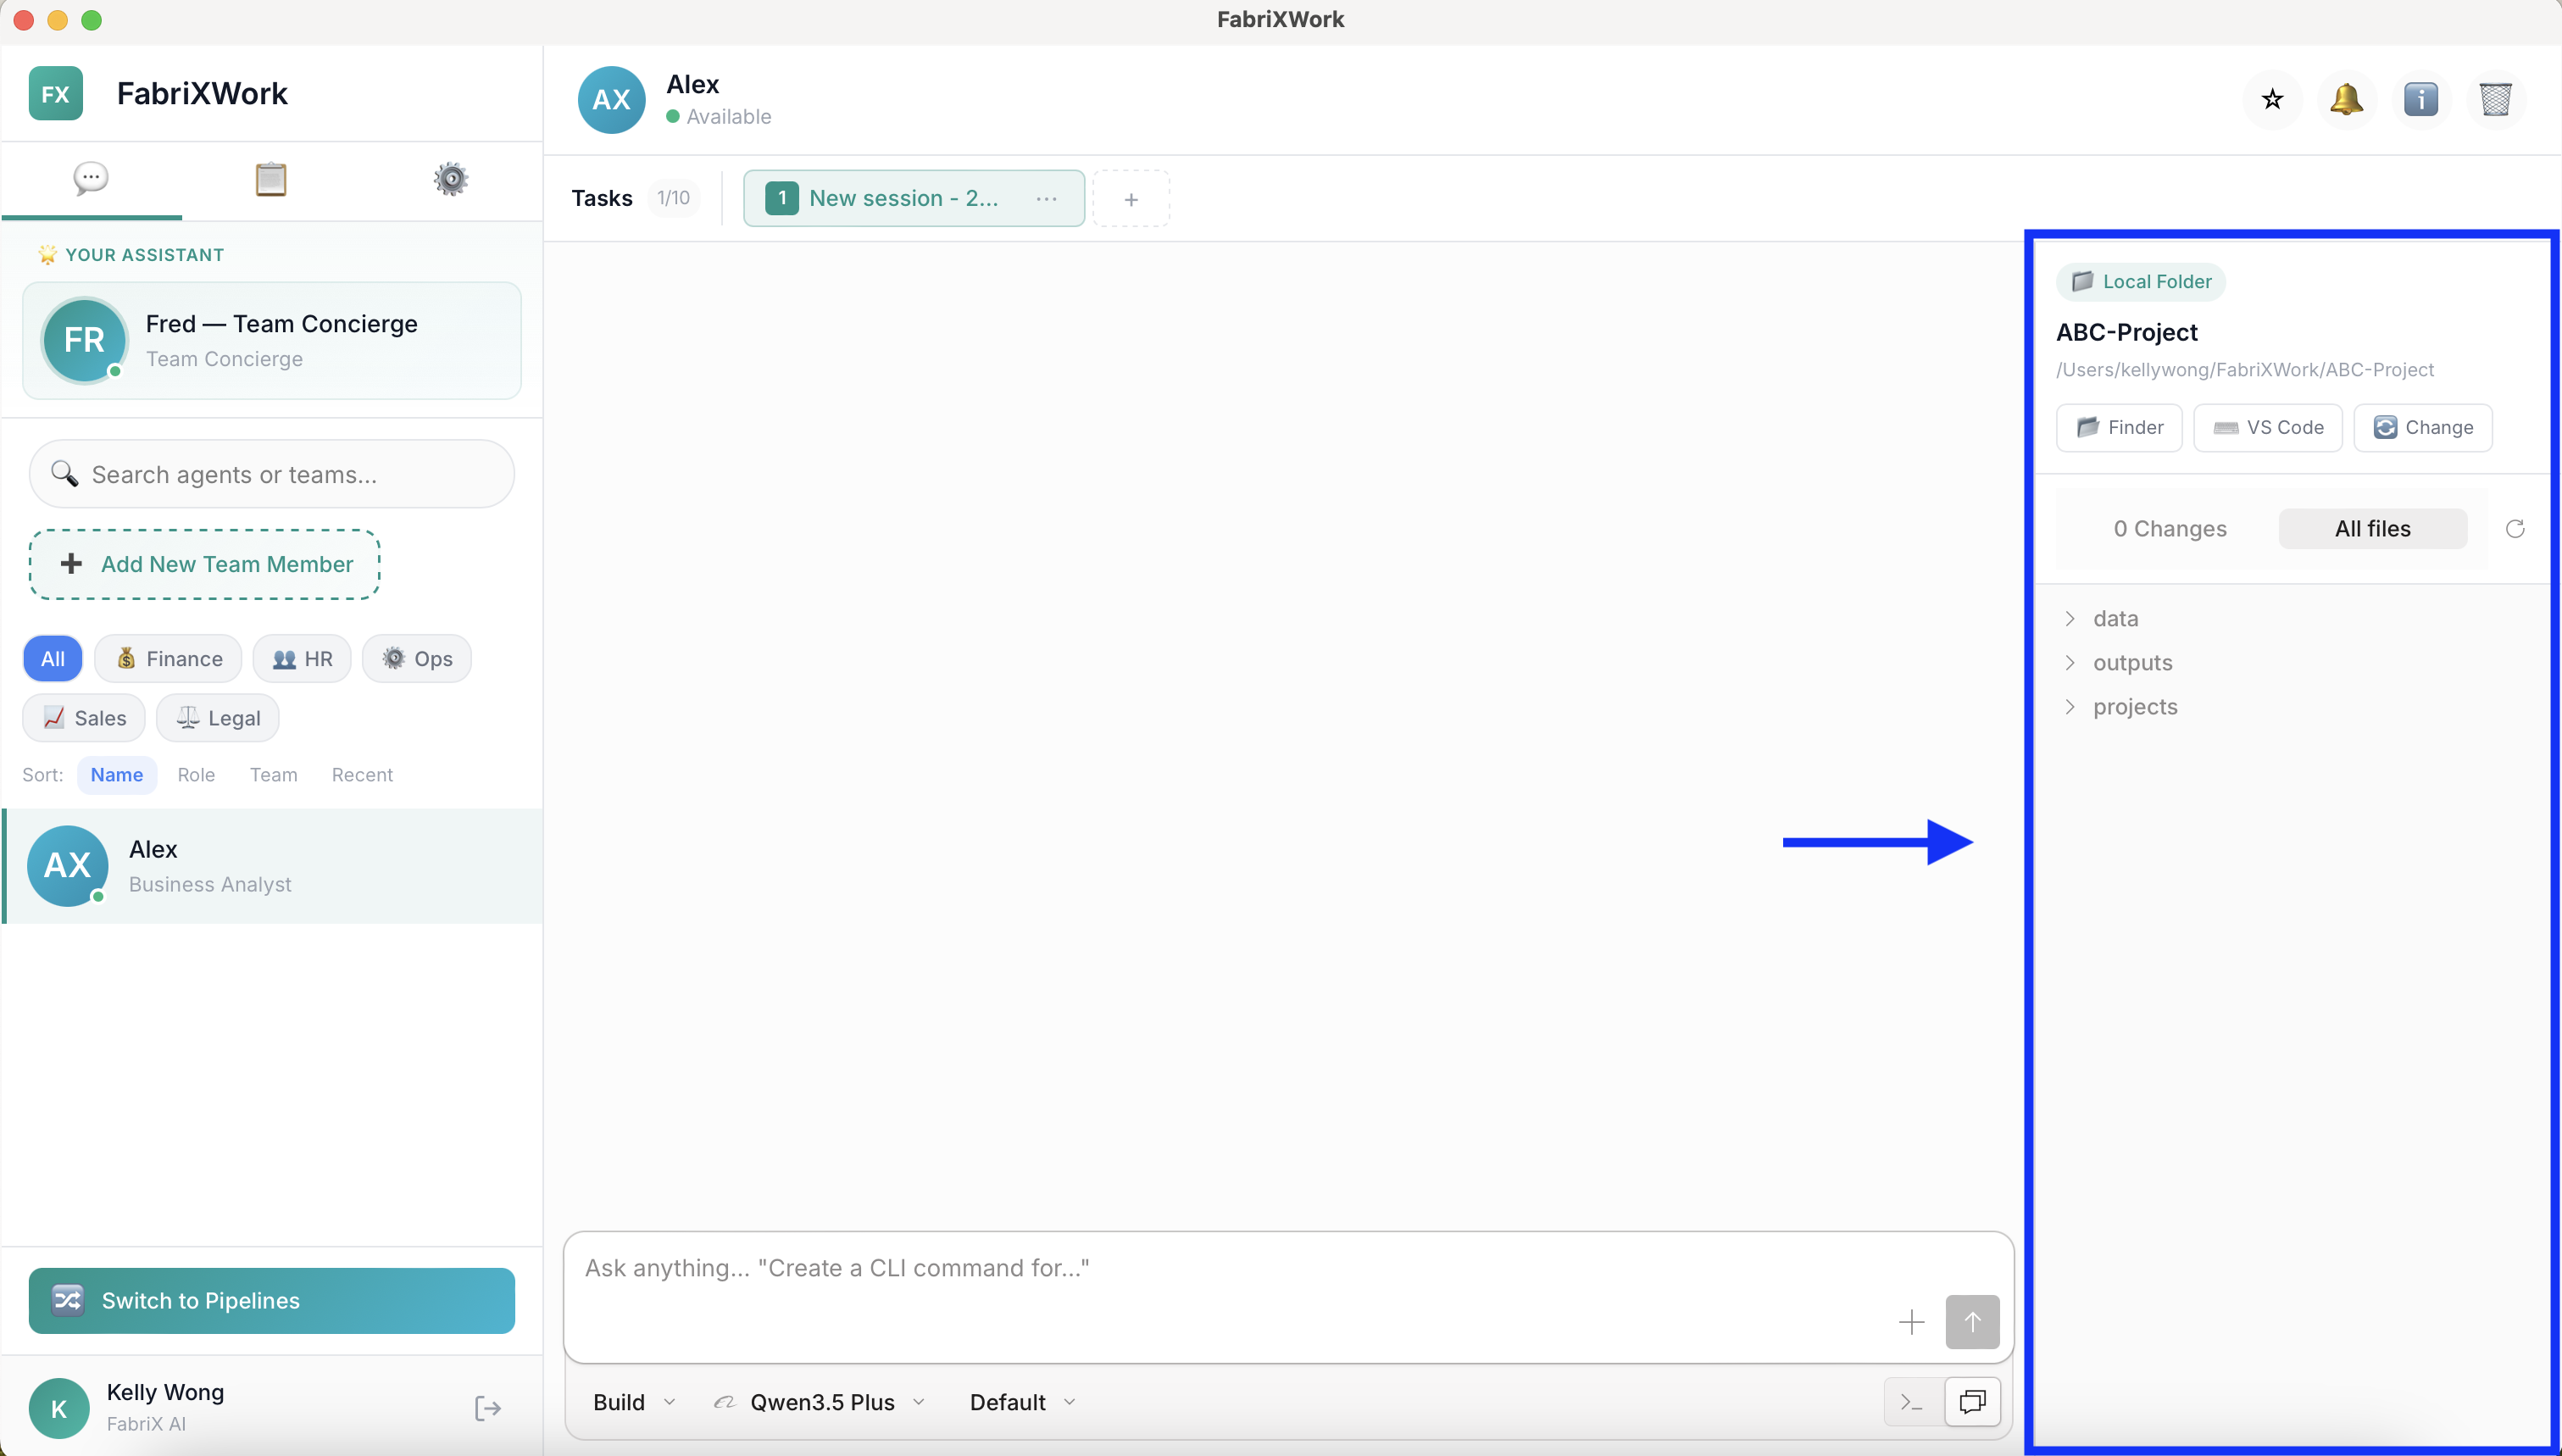
Local Folder Section
- Folder name — e.g., "demo"
- Full path — Shows the complete path on your computer
- "Finder" button — Open the folder in your file explorer
- "VS Code" button — Open the folder in VS Code (if installed)
- "Change" button — Connect a different folder
File Browser
- "0 Changes" — Shows pending file modifications
- "All files" toggle — Switch between changed files and all files
- Folder tree — Expand/collapse folders to navigate
- Refresh icon — Reload the file list
Files the Agent Can Access
The agent can read and (in Build Mode) modify files in this connected folder. Files are organized in a tree structure:
ABC-Project/
├── data/
├── outputs/
└── projects/
Sidebar (Left Panel)
The left sidebar shows all your agents:
"Your Assistant" Section
- Pinned agents — Agents you've starred appear at the top
- Fred — Team Concierge — Always available to help you navigate
Search Bar
- Search agents or teams — Type to filter your agent list
- Filter tags — Quick filters like "All", "Finance", "HR", "Ops", "Sales", "Legal"
Add New Team Member
- "+ Add New Team Member" button — Opens the Agent Directory
- Browse and add new agents to your team
Sort Options
- Name — Sort alphabetically
- Role — Sort by agent role
- Team — Sort by team category
- Recent — Show recently used agents first
Switching Between Agents
- Click any agent in the sidebar to switch to their chat
- Recently used agents appear in the list
- Use search bar to find specific agents quickly
User Profile Section (Bottom)
- User avatar & name - Shows your logged-in account
- Log out button - Sign out of FabriXWork
Common Actions
Pin an Agent to the Top
- Click the ⭐ Star button in the header
- The agent moves to the "Pinned" section in the sidebar
- Click the star again to unpin
View Agent Information
- Click the ℹ️ Info button in the header
- The info panel slides out on the right
- Review agent details, skills, and connectors
Delete an Agent
- Click the 🗑️ Delete button in the header
- A confirmation dialog appears
- Click "Delete" to confirm
Warning
Deleting an agent removes them from your team. Conversation history may be lost. This action cannot be undone.
Switch Between Agents
- Click any agent name in the left sidebar
- The chat area switches to that agent
- Your conversation history with that agent appears
Quick Reference
| Task | How To Do It |
|---|---|
| Pin an agent | Click ⭐ in header |
| View agent info | Click ℹ️ in header |
| Delete an agent | Click 🗑️ in header |
| Change AI model | Click ℹ️ → "Change" in Preferred AI Model |
| Connect a folder | Click "Change" in Workspace panel |
| Open folder in Finder | Click "Finder" button |
| Attach a file | Click "+" in chat input |
| Start new task | Click "+" next to task tabs |
| Add a new agent | Click "+ Add New Team Member" |
| Search for an agent | Use search bar in sidebar |
What's Next?
Now that you know where everything is:
- Add your first agent → Add Your First AI Agent
After you've added an agent and completed your first task:
- Learn to give effective instructions → Interact with an Agent
- Choose the right agent for your task → Agent Selection
- See real-world examples → Use Cases